Showing posts with label Furniture. Show all posts

Saturday, December 17, 2011

Dining Room Buffet Free Find!


What an exciting day!!!  Driving through the neighborhood today I spotted this beauty!  I immediately called Handy Hubby and told him I was swinging back around to pick him up because I needed his help loading!  He sort of rolled his eyes but came along anyway! :)
 

And guess what!  Totally free!  It also came with two matching mirrors.  So beautiful! 
 

Check out the detail on this thing!  Did I mention this was free?? Okay now to the important part.  What color to paint it??


I immediately thought of this white piece, which I love!  I think it would really make the details stand out.


BUT our dining room will look very similar to this piano room over at HOH.  I'm worried about the white on white.  SO...


I found this one that I think may work better with the rest of the room.  And I really LOVE it too!

What do you think??

Sunday, December 19, 2010

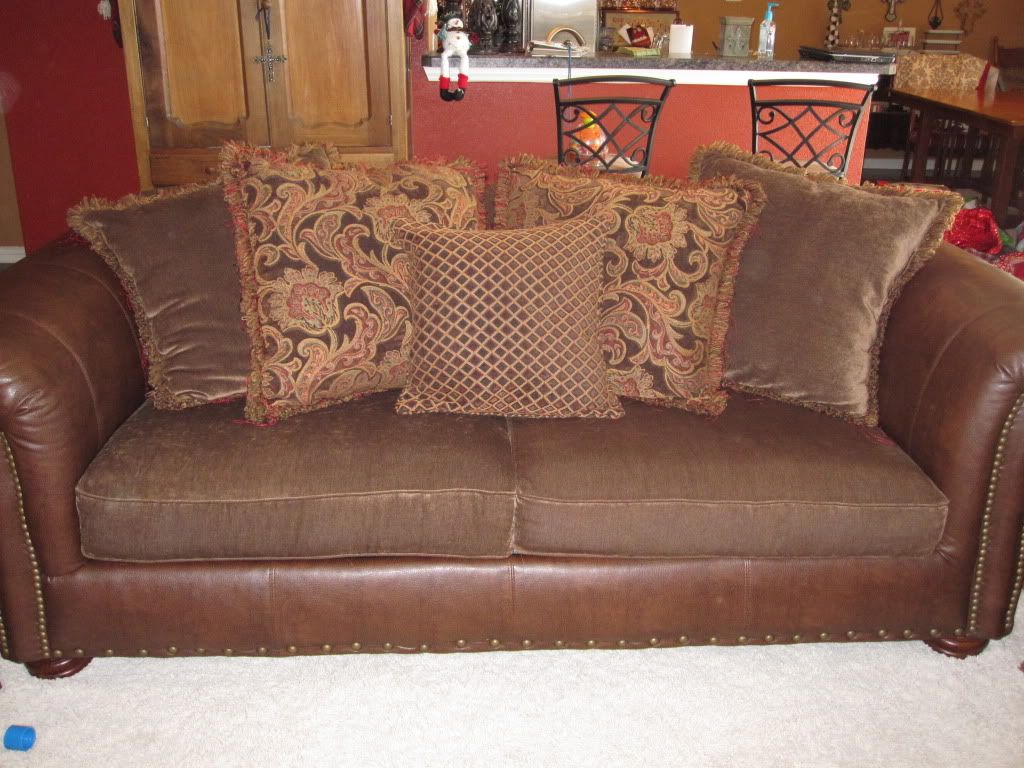
Couch Revamp!

This is a project I've been wanted to do for a while now.  I LOVED the old couch, but if you know me you know that I am constantly changing things around the house!

Here is the couch before....


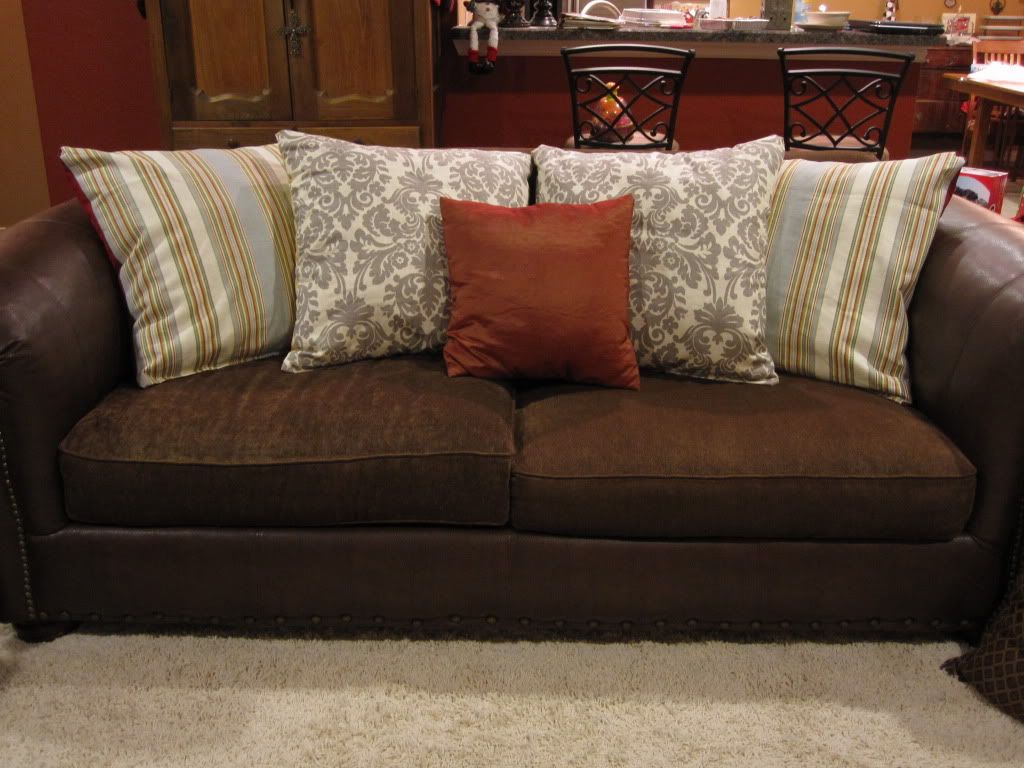
And after!


Pillows are the easiest (and most inexpensive) way to update a couch.  This revamp cost me less than $100.  I got the fabric 40% off from Joann's and still have some left over for some throw pillows!

Here's a quick run down on how I did the pillows:

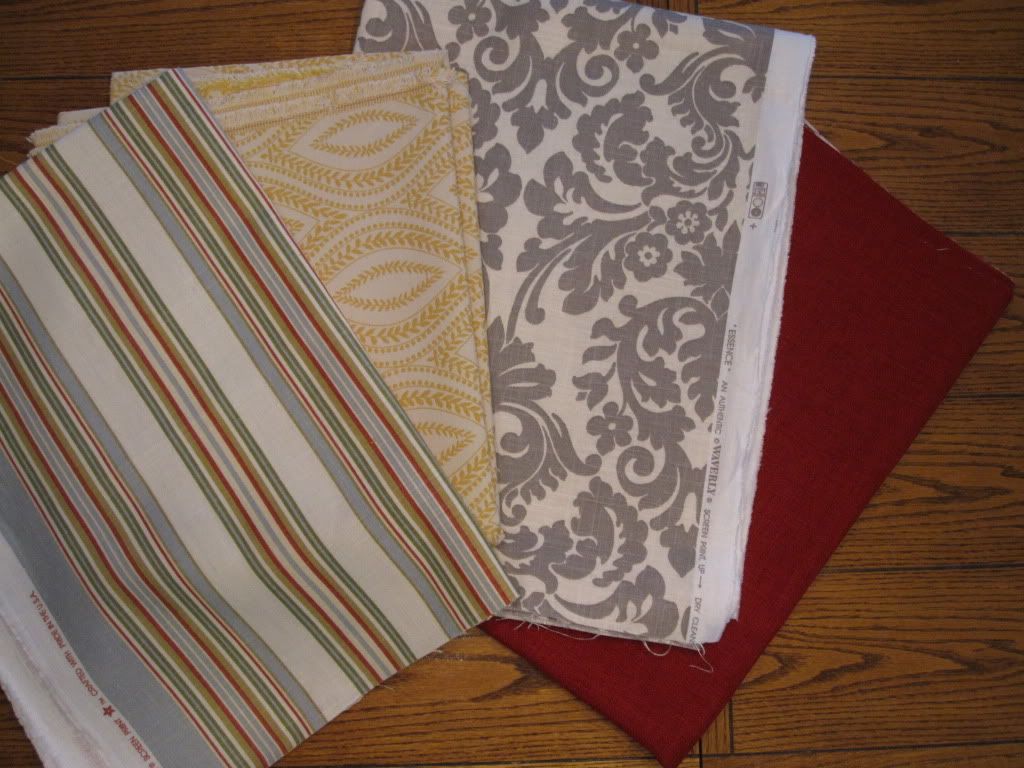
Found the perfect fabric. A good mixture of solids, patterns and stripes!


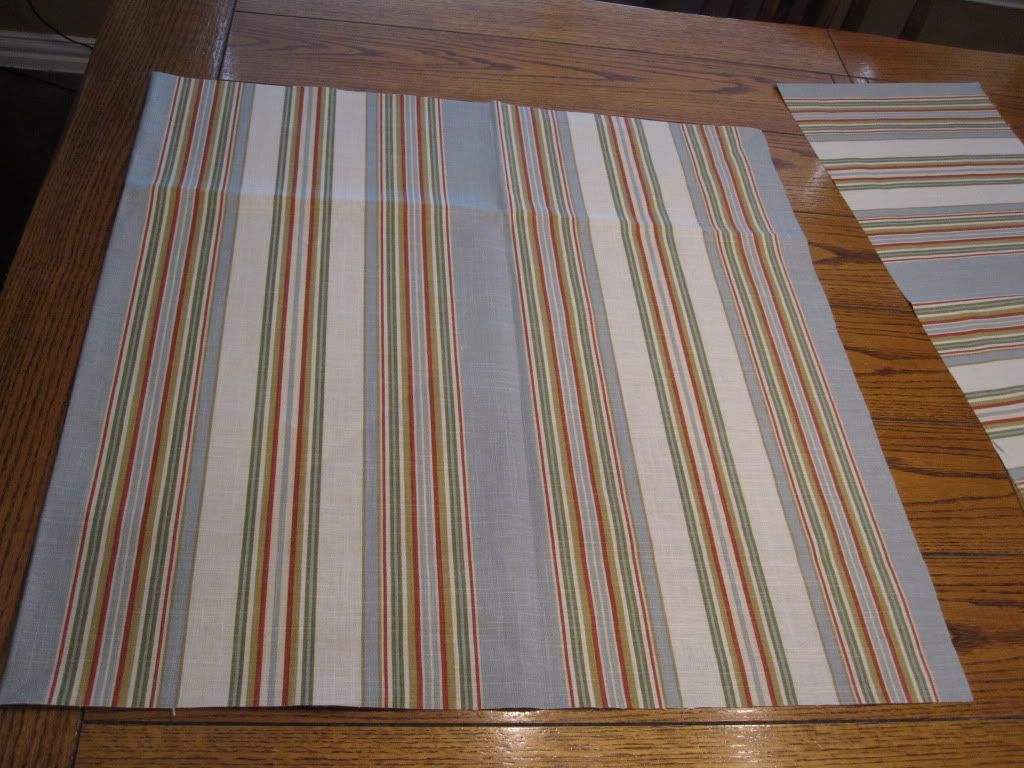
Measured the pillows and cut with a 1/2" seam allowance.


Pattern side together, I straight stitched three of the sides leaving the bottom side open.  I made sure the side I left open was the side I wanted for the bottom.


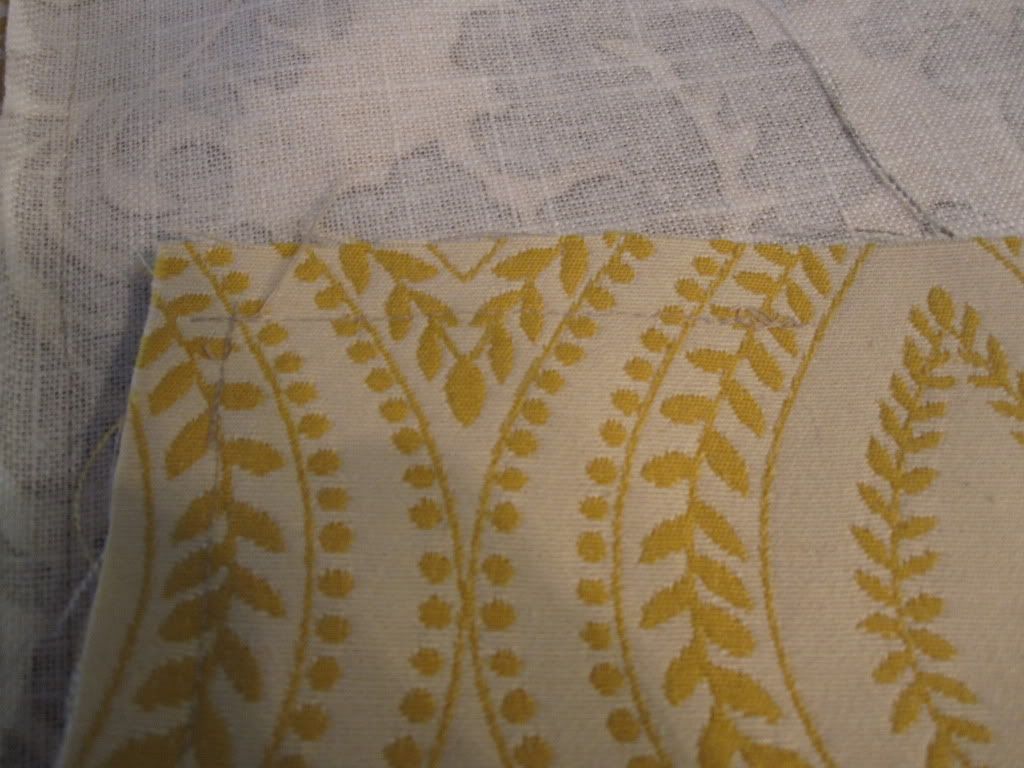
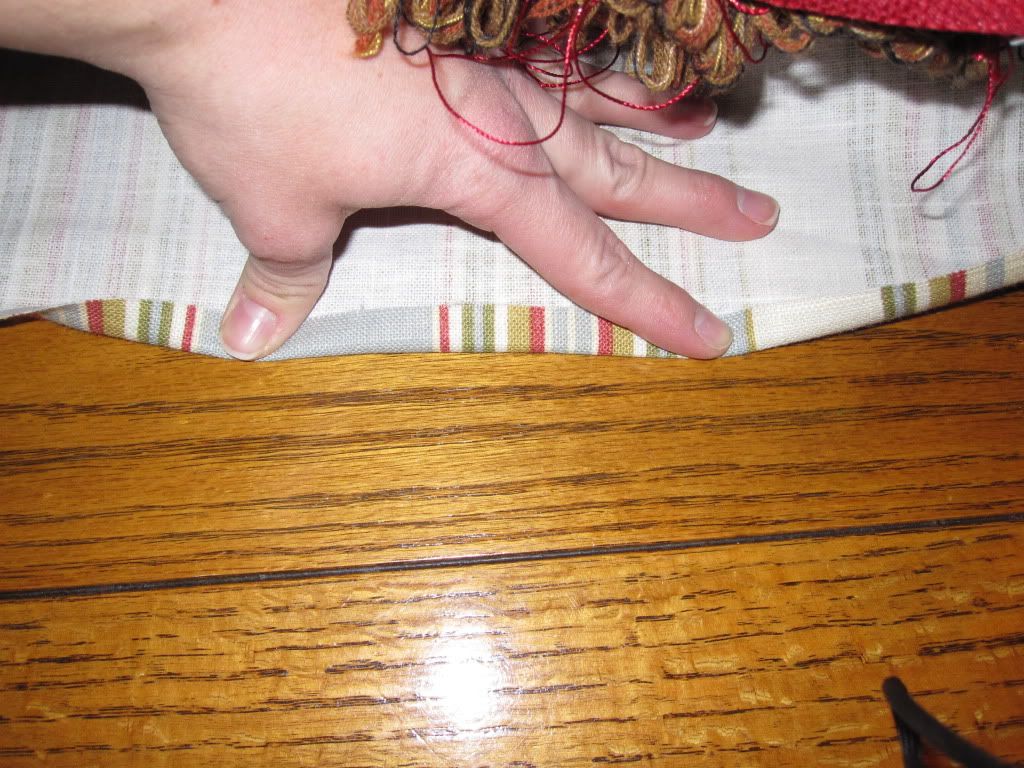
On the bottom seam I straight stitched about 2-3 inches on either side leaving a hole big enough to stick the pillow in.  This makes sure the corners look nice and clean when you sew the bottom shut.  You can slightly see from the picture below.


Next you stuff your pillow in.  I ironed the bottom sides of the fabric for easier stitching.


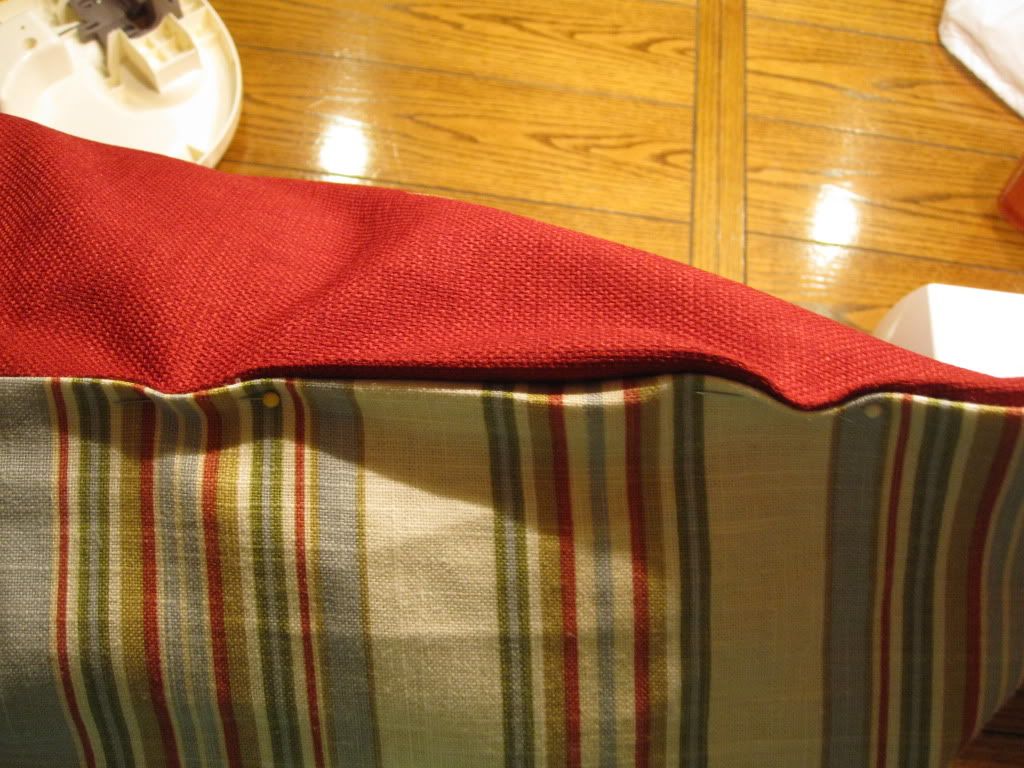
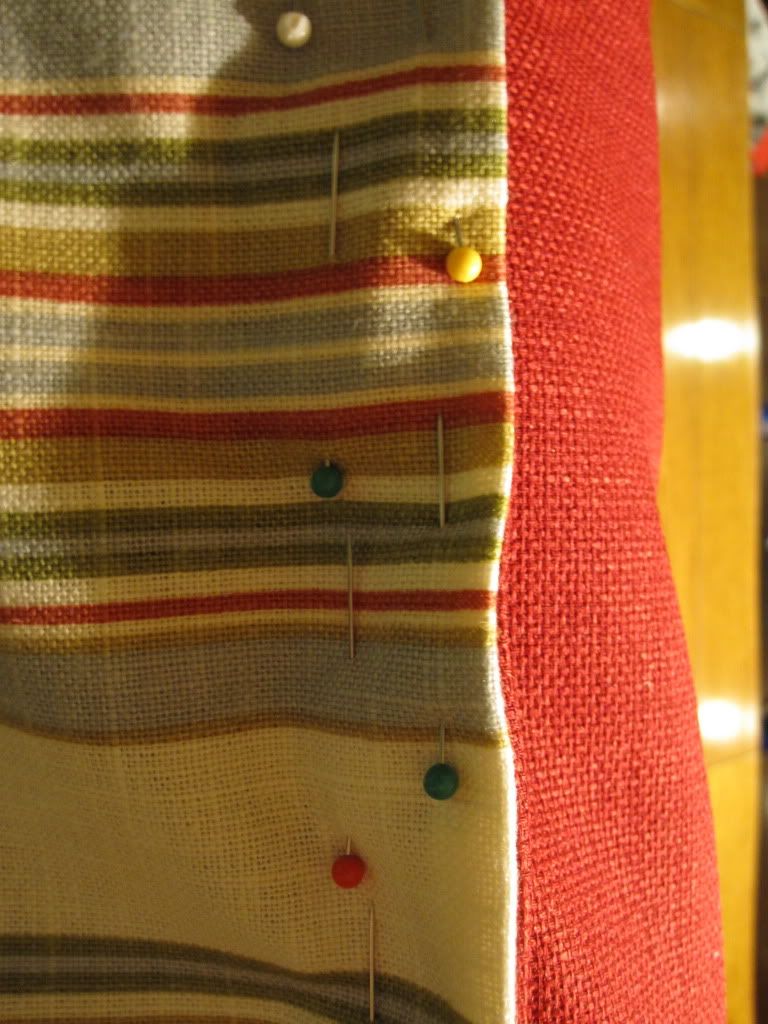
Next I loosely pinned the fabric where the bottom seam will be.


I then went back and filled in the pins.  I actually do two rows, which I think makes it more stable so you can get a cleaner stitch across the bottom.  Not gonna lie I did break a sweat trying to sew these suckers closed!


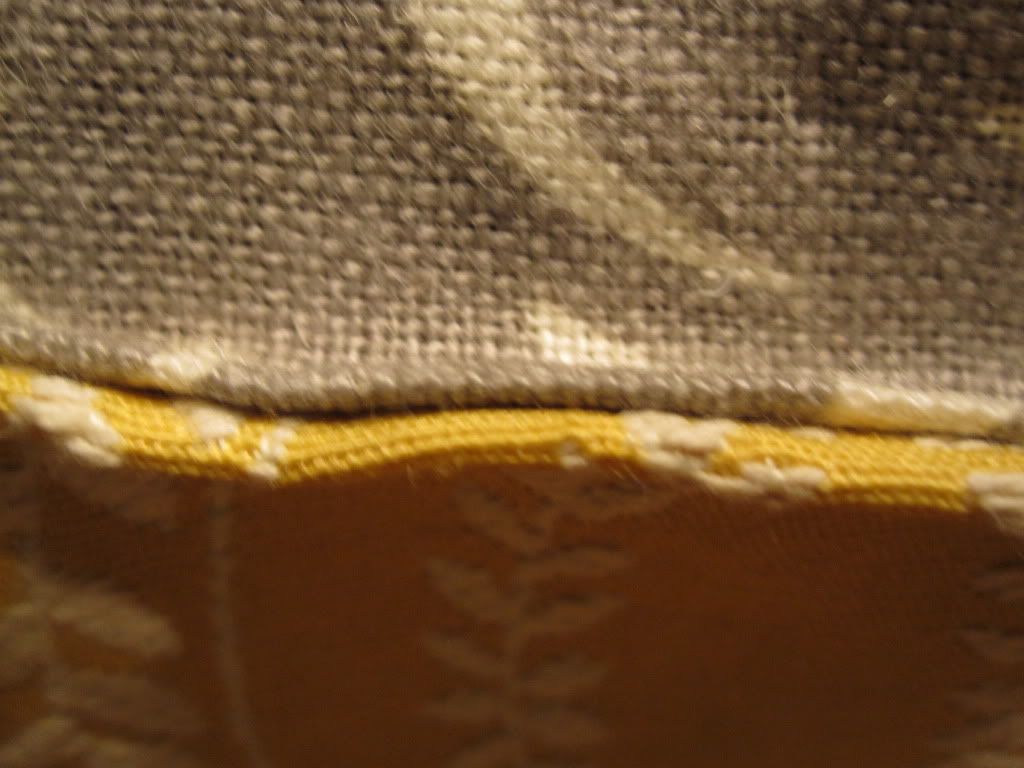
The finished bottom seam.  Not too bad!


One afternoon project in between feedings and taking care of the little guy. I love the way it turned out!