Monday, February 21, 2011

Vintage Ceiling Tiles


Whew I am glad to finally have this project done!!  I started this project about a month ago, and for some reason it's just taken me a while to get done!

It started with these fabulous vintage ceiling tiles I found for 40% off $40 plus an additional 20% off!  Total cost $19!  I thought that was a steal (please don't burst my bubble if you've found them cheaper).


Yes, they started out as a rusty, nasty, mess, but the detail on them is ah-mazing  I started by spraying them with Rustoleum Rusty Metal Primer.  I wanted a brown primer so it would show through when I sanded them.


Tip: If you find vintage ceiling tiles already painted, spray them with a coat of polyurethane to keep them from chipping since they may have been painted with lead paint.

My hubby bought me this really cool spray gun!  These took a while to paint, and this definitely saved my finger!


After the primer had dried completely I spray painted them with Rustoleum Heirloom White.  It actually took about 4 coats.  I sanded them down so the brown would show through and have a rustic look.


My wonderful hubby cut them in half for me using a 4.5 inch grinder with a cut off wheel.  What a great guy.  :)

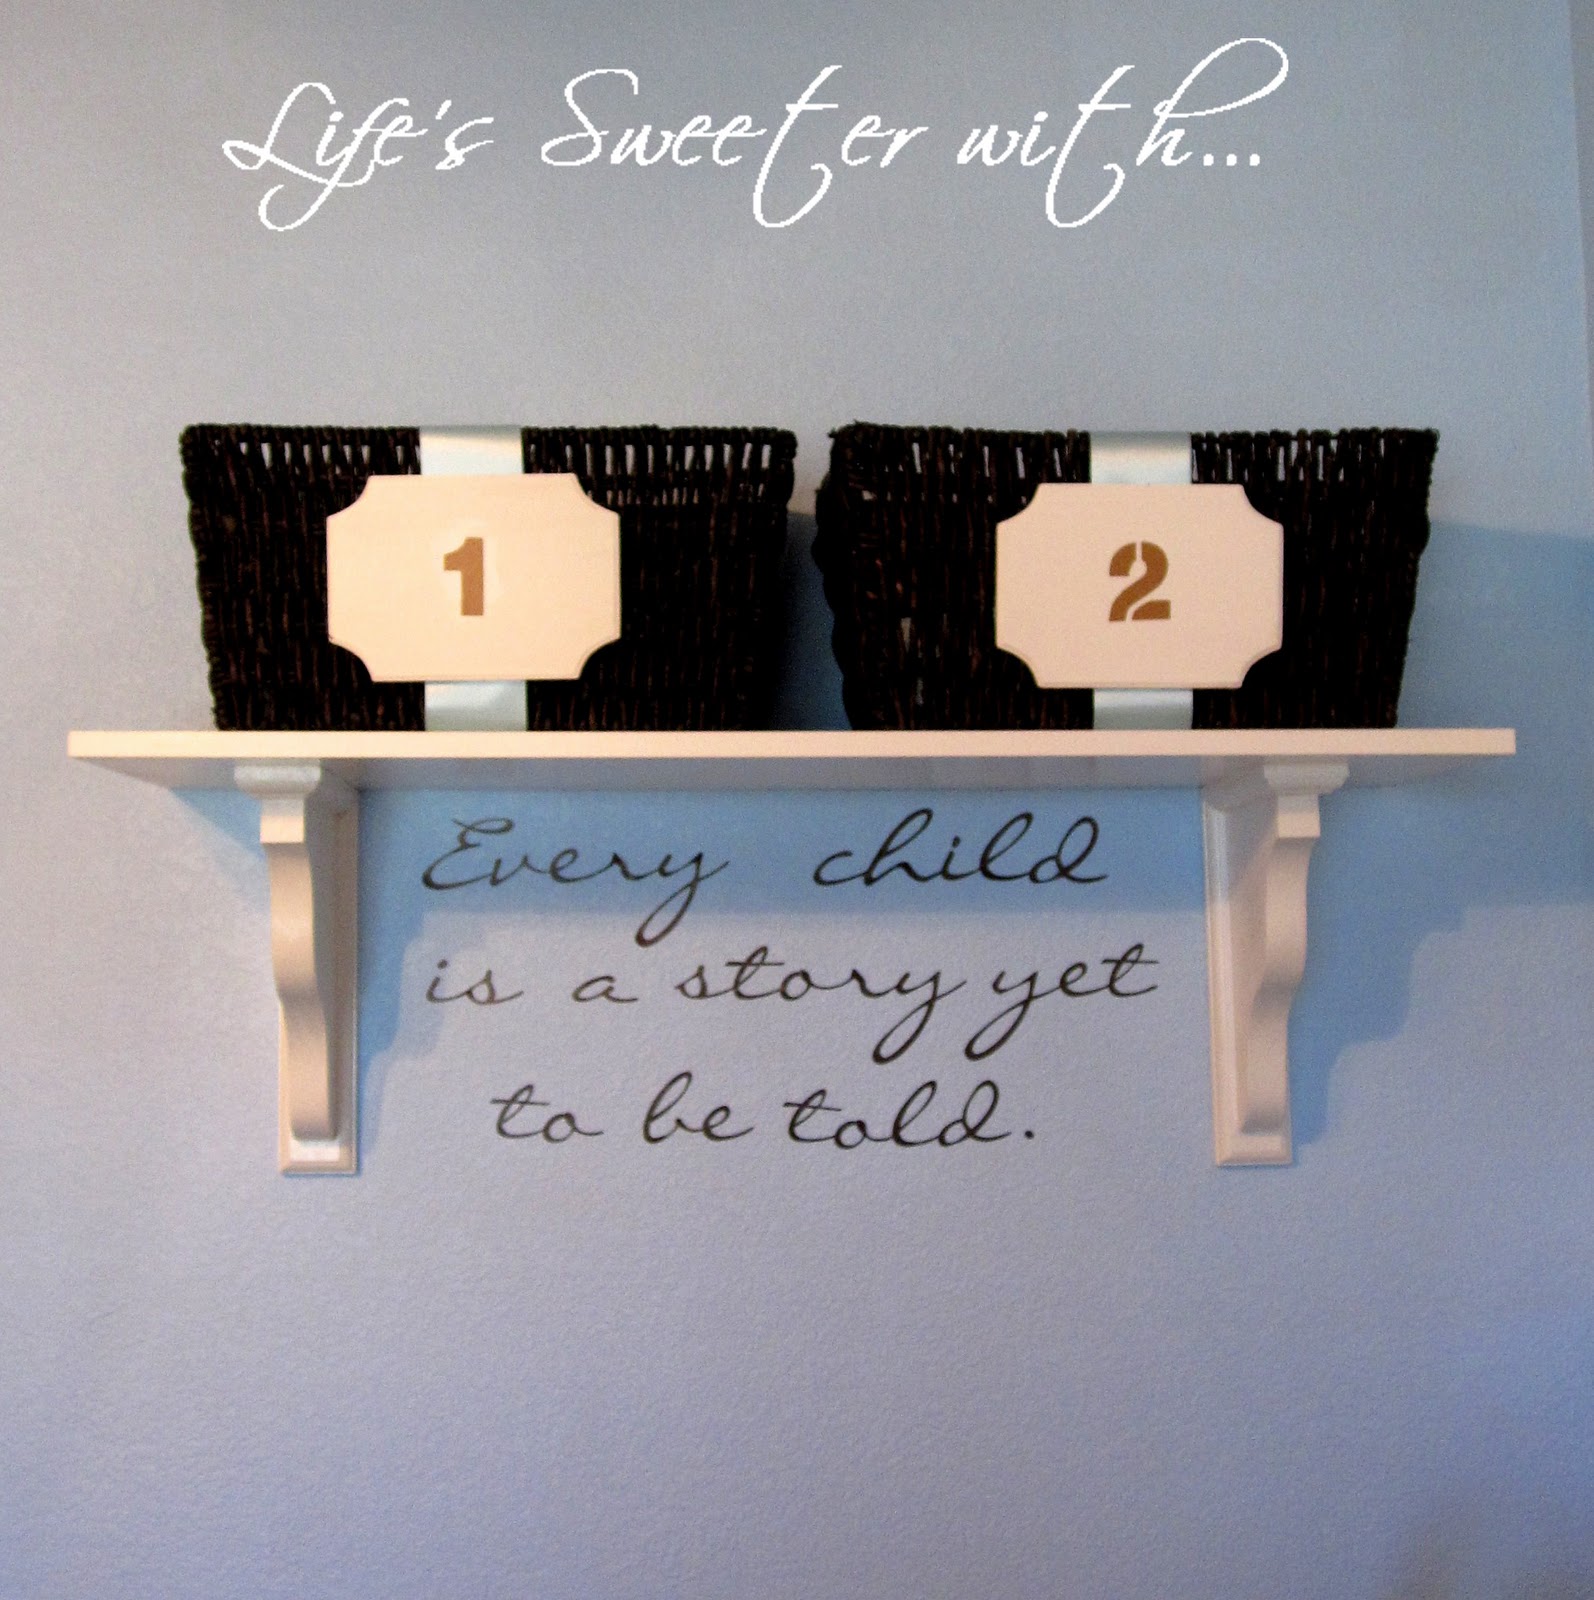
I hung them up on the wall and immediately realized that they needed something else.  They looked a little dinky.


NOT loving them....

Then I stumbled across this post from House of Smith's and thought....  *light bulb* .... I'll just make frames for them!!


Was that an adventure.  I will leave that one up to Shelley to tell you how to do it. After much TLC they did turn out fabulous and I'll know exactly what to do when I tackle this project in the future!


One thing I've learned - sometimes design just happens.  Totally unintentional, projects go wrong, measurements go awry, nails don't quite fit right, and the project quickly goes in a different direction.

Originally the ceiling tiles were going to be mounted to the back of the frame.  I won't take you through that painstaking process, but it just didn't work out!


Thank goodness!! I like this so much better!!


What do you think??


Friday, February 18, 2011

Wisteria Inspired Feed Sack Message Board


I fell in love with this red feed sack message board from Wisteria ($69).
Wisteria

I actually hadn't even heard of Wisteria until recently! They have some really super cute things!!  

Here's how I made mine, for about $7!

Home Depot carries these great sheets of galvanized metal ($4).

I wanted to make it a little thicker, so I mounted it onto a foam board with hot glue.  I found the foam board at the dollar store - 2 for $2.
I cut the foam with scissors.  An x-acto knife would probably work best, but I've seemed to have misplaced mine!  The foam board I bought actually came with grid lines so it made it easy to cut it evenly.  


I used my thread pull technique to make sure the burlap was cut perfectly square.
I used the second foam board as my guide and laid the painters tape making sure they lined up with the grid lines. They were not perfectly spaced, the main thing is to just get them totally straight.  The grid lines helped tremendously!!


I used a dry stencil brush and stenciled on some red acrylic paint.  I'm impatient so I pulled the tape off before it was totally dry. I was super careful, but I probably should have waited until it was dry.  It could have been a disaster!

I love the way it turned out!!  Here are a couple more pics!

I'm a big fan of the rustic look with the clean silver magnets!


Tuesday, February 15, 2011

Decorating on the Cheap


I am so ready for spring, and have been adding flowers all around the house!  Stemmed flowers can get really expensive though.  I was so excited when I made this little arrangement for $4!

It reminds me of the Kate Spade Crystal Bud Bowls which range from $75 - $150.  I found the vase at Walmart for $2!!  So inexpensive!  They have a ton of great vases there right now.


The flowers are from the Dollar Store.  I only had to buy one stem for the whole arrangement.  Woo hoo!


I am always looking for ways to decorate with food.  I love the texture of these beans and it's a lot less expensive than buying rocks.  This whole bag was $1.50.


Good deals just make my day!!


Wednesday, February 9, 2011

A Little Inspiration!


I LOVE this!  Can I say it again?  Love!  It uses my current favorite - apple green.  It's the perfect mix of color and white.  It just looks so fresh, clean and fun!

Betsy Burnham - Houzz


The mixture of darks and lights really makes everything in this room pop.  Such a classy look!

Michelle Hinckley - Houzz


Love the canvases on the wall! AND the striped pillows!

Austin Patterson Disston Architects traditional living room
Austin Patterson Disston Architects - Houzz

Lovely beach home - so dreamy!

 Found on House of Smith's - Interior Design by Jim Howard

  Found on House of Smith's - Interior Design by Jim Howard


Forgot where this one was from - House Beautiful I think?

Total drama with the curtains!  Love how they bring in Rustic elements with the bench and ladder.  


House Beautiful

This one just has me ready for spring!!  

Mignon Road traditional living room
Duckham Architecture & Interiors - Houzz 

I could go on and on!  Hope you enjoy these as much as I did!  :)

Tuesday, February 8, 2011

Nursery Shelf and Storage Baskets


As my little man grows, so do his things!  We desperately needed some additional storage in his room, and a place to keep a few things out of his reach. I decided to add a shelf with some fun little baskets over his changing table.

Here's how it all came together:

I purchased a 12" x 36" wall shelf board from Home Depot for about $7.  Their wall shelving boards come in a variety of lengths and (a bonus) they're already white!  I also found these great corbels for about $8 each.


The corbels came ready with mall mounts already installed on the back. There are some that come without the wall mounting, so I had to search for these.  They are approximately 10.5" x 9" x 2".  The corbels are attached to the board with liquid nails and then a couple nails through the top for added security.


I feel guilty even telling you what I paid for the baskets!  During Michaels Dollar Days all their baskets were on sale.  I just happened to find the last two baskets in this style - they were clearanced out for $.01 each.  Yes $.01!!!  I asked the lady 3 times if that was right.  She said it was!  What???  I SOOO wished they had more!  I would have bought as many as my car could hold!

The ribbon ($5), plaques ($1/ea), and stenciles ($4) came from Walmart.  I gave the plaques a once over with some white acrylic paint and attached them along with the ribbon with hot glue.


I used the inside of the stencil (since I didn't have the right color paint to stencil them on), and glued them with some Mod Podge.

Total cost of the project was about $35!

While I was at Home Depot I also spotted this great stuff!! 


So fun!! I keep trying to figure out a project that I need some of this for!

For now I will just enjoy my extra storage!  Here are some additional pics:


Monday, February 7, 2011

Add a Tray!


This little tray fell victim during my January organization frenzy (and making room for my new corningware).  It was either goodwill it, stick it in a closet or attic so I could never find it, or re-purpose it.  It's such a cute tray, so I decided it was definitely something I needed to find a new home for!


Here is the before:


Primed it, then painted with a few coats of this great stuff in my current fav color: Green Apple! 


Home Depot is the only place I've been able to find the Rustoleum Painter's Touch.  I haven't had any luck at Michael's, Hobby Lobby or Wal-Mart.

I love the fact that it makes everything look neat and organized on my night stand, which is always home to my glasses, whatever book I'm reading, lip gloss, and then of course my nightstand accessories.


I made this frame over Christmas (one for a gift, one for me).  You can find the full tutorial here at Shanty 2 Chic!


 Love how it ads a much needed pop of color and best of all it was free since I already had everything!