Alright, so I told myself January was going to be ALL about organization!! What better way than to dive right in and take the 21 day challenge with a bowl full of lemons. This girl is seriously organized! So here I go...
Day #1
Me vs The Junk Drawer
I'm a little reluctant to post this for the world to see... It's not pretty....

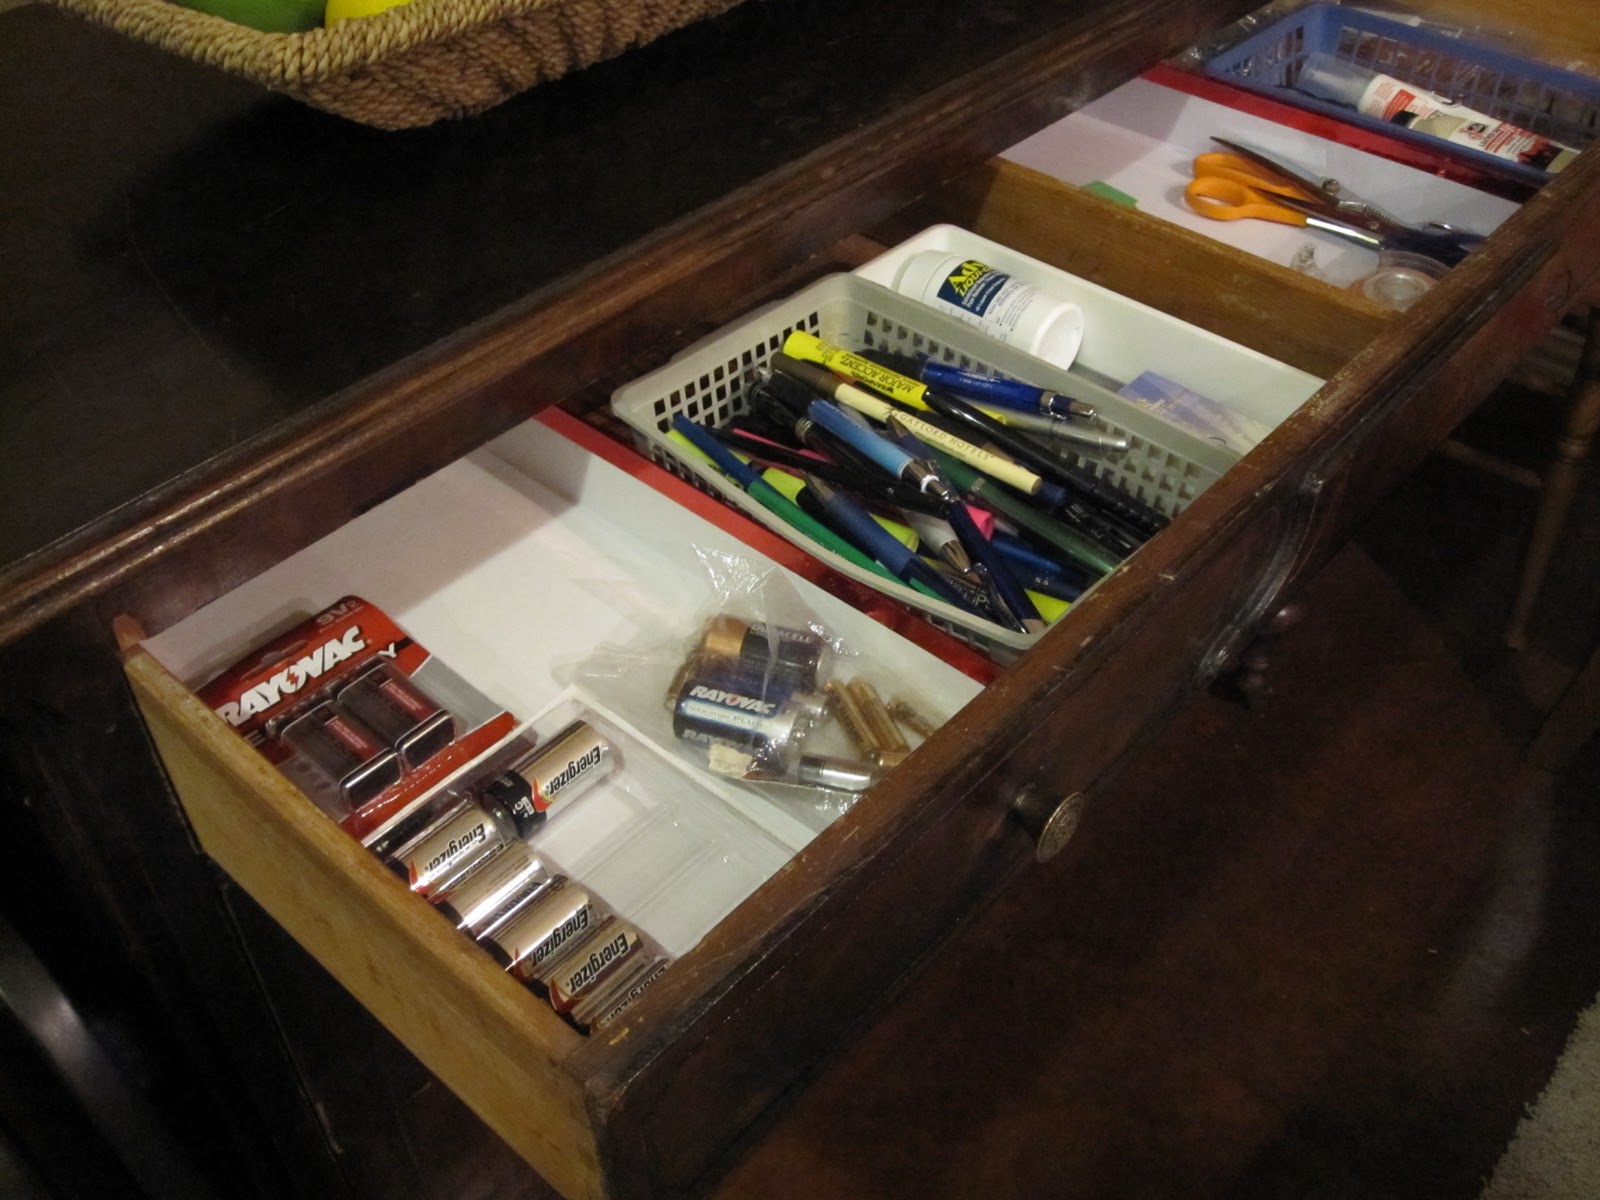
As I wrapped up my junk drawer organization project I was singing the Hallelujah chorus in my head!
Here is my after pic:
Day #2
Desk Organization
I actually get a pass for today since my hubby works from home and he doesn't want me organizing his things!
The Tupperware Cabinet
While I was out buying containers for my next challenge, I saw a book called "Organizing for Dummies". I didn't buy it (although I probably should have). But I thought I would start sharing a tidbit of what I'm learning from each challenge (mostly for me to go back and remind myself!).
So, my tidbit of the day: Containers are absolutely essential in organization! I guess I've just always been too cheap to buy them, but I've realized they are important, and really not that expensive if you think a little outside the box. I was at Bed Bath and Beyond and saw a tupperware lid holder for $4.99. Granted that isn't too expensive, but still seemed like a lot to me for something that was going to hold my tupperware lids, so I opted to keep looking.
I stopped by Walmart where I found this fantastic ice cube bin for 1.82. It works perfectly for my tupperware lids! I was super excited about my find.

I also found these other great bins for $4/each at Walmart. I love that they have handles so I can pull them out easily.

Everything fits perfectly in the space.

Day #4
The Linen Closet

Alright, so before we get into the embarrassing pictures, I'll let you know my tidbit for today: Keep everything up off the floor. I found some nasty dust bunnies at the back of my floor clutter! But... if you're like me and run out of shelf space, at least stick all the floor items in bins so you can pull them out to vacuum. I actually have a box of small items that don't have any other home but the floor of this closet. They will be making their way back in as soon as I have a large clear bin to put them in.
So, here is my before picture...

And the after... (see the nice open space to the right - that's getting filled with a bin)

Such a good feeling - nice, neatly folded, pretty towels!


Day #5
The Kitchen Sink
Thank goodness it was an easy one today!! Despite waking up at 4:45 with a bug I was able to conquer today's challenge.
Okay, so my tidbit for today: When you're out shopping, ask yourself, "does this something have a home?" I obviously have needed to ask myself that more than a few times. Some people buy office supplies... some people buy shoes... seeing my 2 of everything - I obviously buy cleaning supplies.
Alright so my before:

I must admit that today was an easier day because my hubby is taking up half the cabinet with our reverse osmosis system. I found a whole new love for that thing today!
And the after....

I always breath a huge sigh of relief when I see the after pics.
Day #6
The Dresser
I have to say that today's challenge wasn't too bad, mostly because I desperately need to do some laundry! :)
I owe today's tidbit to my dear husband. When we first got married I thought it was SO strange that my hubby rolled his clothes. I'd seen rolled towels (for decoration of course) but had never seen rolled clothes! Where have I been??? It makes total sense - less wrinkles, you can fit more in, and better yet you can see what you have! I fell in love with this new (at least for me) method and we use it all the time! Aren't they awesome?

So here are the before pics:
Excuse my toes...


And the after pics:


You will have to trust that I did the others... I'm going to leave my secrets a secret...
The Pantry
I must confess I started on this one a little early. I knew it was coming... and I knew it was a BIG one! Our Pantry was a little out of hand!!

All I hear when I look at this next picture is Joey Lawrence's "Whoa"

But I did manage to get in my contact paper. That was a feat in itself...

This will be my tidbit for today: If anyone has any pointers let me know! This is definitely not the easiest stuff to work with. At least it's forgiving!! After trying a different method for every sheet I put down, I finally asked for my hubby's assistance. This is definitely easier with two people if you have large sheets. At first I tried to stick one side down to the shelf before pulling the back off. This proved to me a HUGE mess. I found it's easiest to pull the entire back off before attempting to stick any of it down, line the sheet up with your front largest edge and press that side down first then work your way to the back. I actually used a wrapping paper roll to push down to get out air bubbles. Then I went back and pulled up each side individually to get out any remaining bubbles. It turned out so nice, and then I saw this at the House of Smith's and immediately wished i would have done it her way! Oh well another day!

Day #8
The Coat Closet
Today wasn't too bad! I rearranged a few coats, threw away a couple boxes and hangers and voila! By far the least time I've spent on a challenge to date!
Here are the pics:

I don't really have a tidbit for today, but I will share something I've learned from this whole experience. After the pantry project I realized I've bought a lot of things that I didn't even really need. For some reason today, my mind wondered back to college and the business theory that you don't want your money tied up inventory. I had a light bulb go off today! Our funds are tied up in inventory! I've realized that when you're organized you don't buy things you don't need, because you know what you have at home!! Brilliant concept I know... Ha!
I'm LOVING opening all the doors/drawers from last weeks challenges and seeing everything nice and neat though!!
Day #9
Toys
My little man is still 9 months old, so the toys haven't had a chance to get too out of hand yet.
99.9% of the time, my living room looks like this:


When he's in bed, or we're having guests over they hide the clutter and look nice too! We move them to the center of the room and use them as ottomans/coffee table (the lids actually flip for a hard surface).
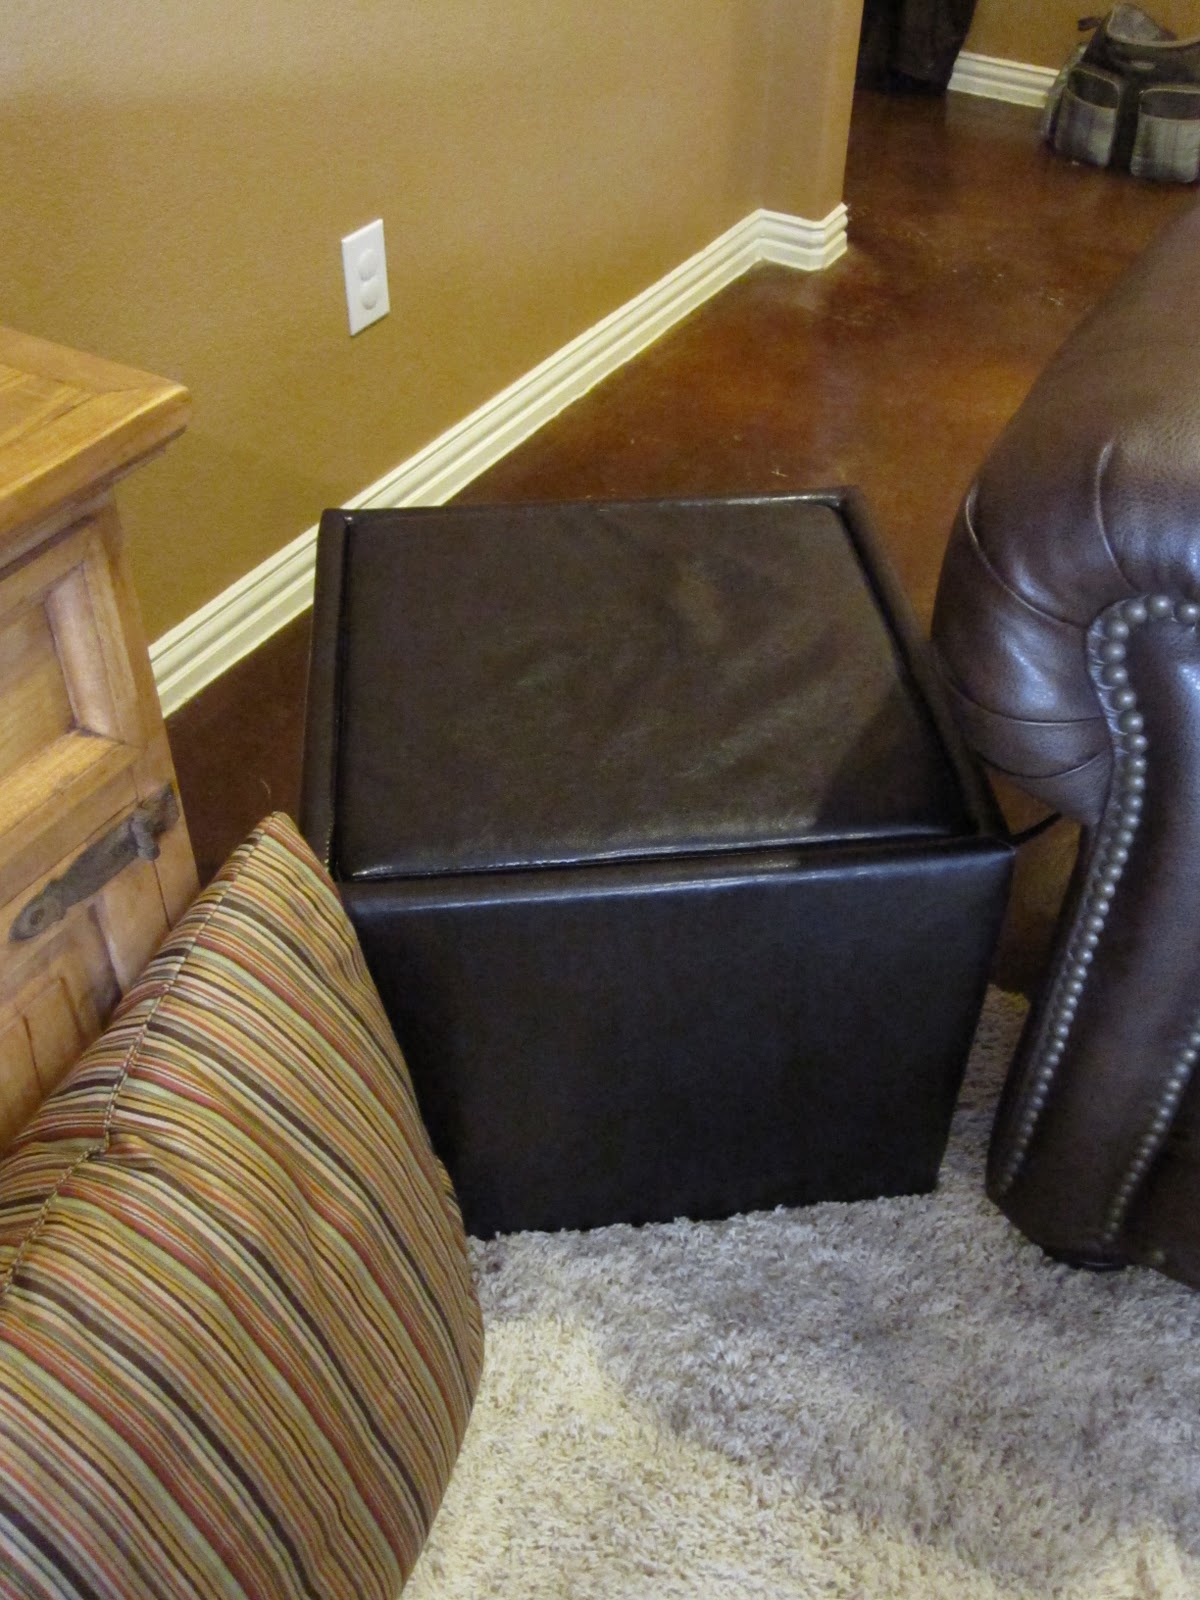
So, today I spent my day moving the furniture and doing some much needed deep cleaning in this room.
Okay, so I don't have a tidbit for today, but I'd like a tidbit from you! How, how often, and with what do you clean your kids toys? Being a new mom, I'd love to hear your answers! :)
Day #10
The Laundry Room
Oh the cleaning supplies! Oh my goodness!! I'm exhausted after this one just thinking of all the cleaning I have to do to use all these up! I know, I know, I really should give some of them away. Anyway - here is the before picture. It doesn't look that bad because I forgot to take it until after I'd cleaned up some of the right side.

And the after...

My tidbit for today: This is something I just recently started doing - the basket on the dryer. I decided to use a cute basket and leave it on top of the dryer. If I take a load of laundry out, and don't have time to fold it, it goes in this basket instead of on our couch! So far it's worked out pretty well!