This recipe is super easy and really yummy!!!! This is definitely added to my fav's list. I found it at Healthy and Easy Recipes.
Here is the 4x6 recipe card - ready to be printed on cardstock!
Thursday, December 30, 2010
Hubby Laundry Sorting System
I LOVE this idea from Better Homes and Gardens. Why didn't I think of this years ago??? It's the perfect hubby laundry sorting system with washing instructions (I give my hubby major props for helping with the laundry).
You can download the BHG version here. I decided to make my own so I could add the washing instructions as well. I found the perfect graphic from The Background Fairy to use for the cards. Her site is awesome! I think they turned out super cute!
I had the perfect scrapbook paper left over from another project.
I thought they needed a little something extra so I added these cute little tags that came with my scrapbook paper.
I painted my clothespins with Ceramcoat Bittersweet Orange from Hobby Lobby.
BHG recommended laminating them or using contact paper. I haven't done that yet, but you can get machine-free laminating sheets from Walmart for about $1/each.
Doesn't it just make sorting laundry look so fun?!
Here are the cards I used if you'd like to make your own. Drop these into word to add your own washing instructions!
You can download the BHG version here. I decided to make my own so I could add the washing instructions as well. I found the perfect graphic from The Background Fairy to use for the cards. Her site is awesome! I think they turned out super cute!
I had the perfect scrapbook paper left over from another project.
I cut the paper and attached to the cards with glue dots (love those things).
I thought they needed a little something extra so I added these cute little tags that came with my scrapbook paper.
I painted my clothespins with Ceramcoat Bittersweet Orange from Hobby Lobby.
BHG recommended laminating them or using contact paper. I haven't done that yet, but you can get machine-free laminating sheets from Walmart for about $1/each.
Doesn't it just make sorting laundry look so fun?!
Here are the cards I used if you'd like to make your own. Drop these into word to add your own washing instructions!
Tuesday, December 28, 2010
Recipe Card Holder
One thing that drives me crazy when I'm cooking is digging for my recipe cards amidst the clutter of ingredients on my counter! I was at my grandma's house this past weekend and she had a wooden recipe card holder. Unfortunately, it was from 1974! They just don't make things like they used to! With the help of Hobby Lobby I decided to make my own! I just love the way it turned out!
Here's how I did it:
Hobby Lobby has all sorts off fun Wood Shoppe products! For this project I used a jumbo paper clip, one wooden nickel, a candlestick and a base. You can either get these on sale or wait until they have a 40% coupon and they are super inexpensive!
First I used the Dremel to grind the candlestick to the angle I needed it.
Then I glued the candlestick, base and paperclip together.
I spray painted with Rustoleum Heirloom White. Rustoleum has better covereage than other spray paints I've used. You can find this at Home Depot. Tip: I actually used a clip while I painted the paper clip to get the inside!
I thought it looked a little dull so I painted a wooden nickel with green acrylic paint and stenciled on an "m". This is where a Silhouette machine would come in very handy! I actually had to paint this a few times with the stencil before it came out the way I wanted! I wrapped a little jute around it and called it a day!
I think this little guy will get a lot of use!
Sunday, December 26, 2010
Faux Stones in Guest Bathroom
This project was pre-blog and pre-baby, but it was one of my fav's so I just had to share! When we moved into our house I knew I wanted to do something really unique in our guest bath. I saw the faux stone idea in a magazine and researched a million pictures online to get it exactly the way I wanted it!
This project took 4 days! It was a painstaking process, but I loved the end result.
Here's how I did it:
I painted the base coat which would be the faux grout lines. This was the first day and all that could be done! I let the paint dry overnight.
The next day I started drawing the layout for the bricks. I used a large level and penciled in the staggered layout. I used 1/4" blue painters tape. I placed the painters tape consistently in relation to the lines I drew.
I was pretty pumped at this point since I could really start to see how it would turn out!
I used 3 different colors of translucent glaze to add dimension. I used the "sponging on" faux technique. I used two different types of sponges. A regular sponge and a sea sponge.
I'll give a brief rundown on the sponging technique. Start with a slightly damp sponge. Pour your glaze onto a paint tray (start with your darkest and work to your lightest glaze). Dip your sponge into the glaze and squeeze out excess. Blot the sponge before applying glaze to the wall to prevent any "blobs" on the wall. Lightly sponge the glaze onto the wall. You really can't mess this up. I actually intentional made some of the stones darker so there would be some variences in the stones.
Let the darkest glaze dry completely and repeat the process with the 2 lighter glazes.
Here is a picture once it had been completely sponged:
Let the paint dry completely and peel off your tape!
Erase any pencil lines that are still visible.
4 days later and lots of elbow grease but it was worth it!!
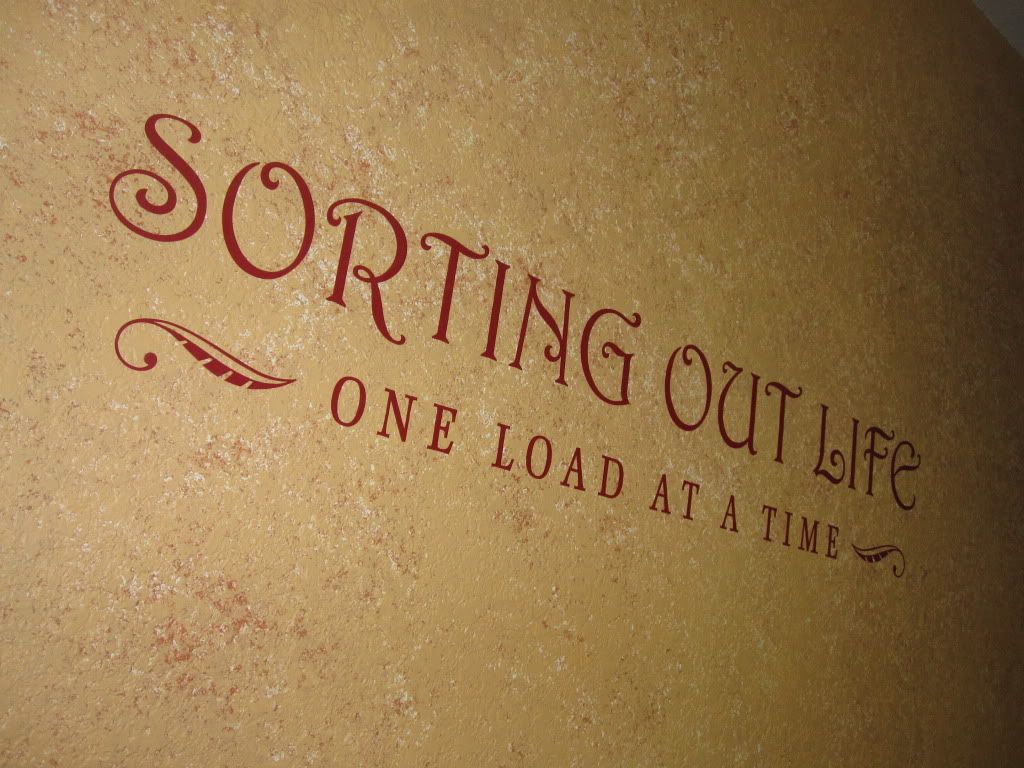
I actually had so much much left over glaze I decided to go on ahead and do the laundry room. I found this decal at UpperCase Living. I love it! Since most people enter our house through the garage I'm glad this room is a little more dressed up than your typical laundry room!
Happy Painting!
Silhouette Machine Giveaway!
Oh My, Oh My!
Today's giveaway is kinda a BIG DEAL!
As in the ROCK your craft world kind of BIG DEAL!
Silhouette will be giving away one of their crazy awesome craft cutters for FREE to one lucky Little Miss Momma reader!

That's over a $300 value!!!
AND,
If you didn't get what you want for Christmas this year, no worries, because...
Silhouette will ALSO be giving all Little Miss Momma readers a HUGE discount. You can purchase a Silhouette for ONLY $175
with monthly subscription commitment to the Silhouette Online Store {which has everything, btw}. Enter: the code "LMM" at checkout to receive this incredible discount. But this offer will only be valid from Dec 26th to January 1st.
(Click on image above to visit the Silhouette site.)
As for the free Silhouette.....this is what one of you little luckies will be getting!
Silhouette Machine
Software for Windows XP/Vista
Power cable, USB cable
2 Cutting mats (one for thick media, one for thin media)
Cutting blade
$10 gift card to the Silhouette Online Store
For those of you who don't already know, the Silhouette is the "ish" when it comes to craft supplies. This puppy does EVERYTHING!
Cuts out any shape you can dream of, etches glass, cuts vinyl and stencils, draws elaborate designs, creates scrap booking supplies, makes temporary tattoos, magnets, creates custom apparel and MORE!
And the BEST part--you don't need to worry about forking over the doe to buy dozens of expensive cartridges {when you really only like a handful of the designs on a cartridge anyway}!
Unlike other craft cutters, the Silhouette works with your PC {and MAC's} allowing you to download and pay for only the designs you love--not to mention many digital images are already included and you can use files saved on your computer! How great is that?!
I am so in love with my new Silhouette machine that I pretty much kiss it goodnight before I go to bed--seriously! And I can't wait to put together some fun projects for you guys!
Friday, December 24, 2010
Tissue Paper Flowers and Mason Jars
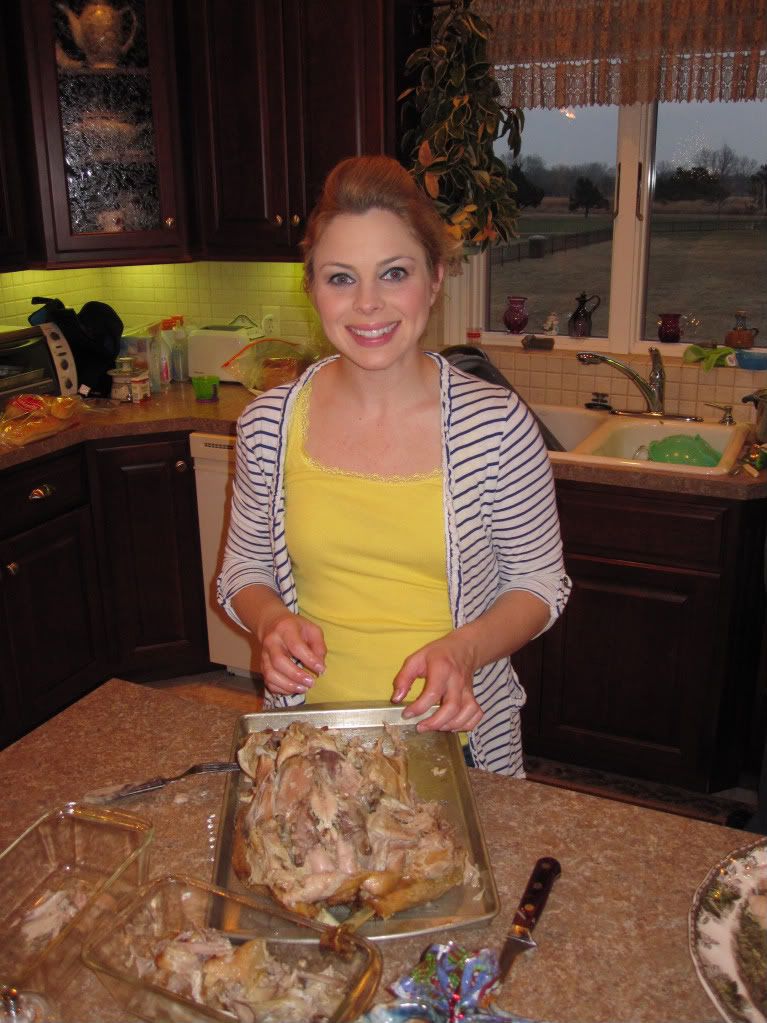
I am visiting the wonderful city of Hesston, KS. It has been so nice to spend time with family and enjoy this Christmas. There has been LOTS of cooking going on! Here I am carving the turkey!
For anyone who is near Hesston, KS I found some great buys at their Et Cetera second hand shop! It is such a cute little shop! I spent less than $10 and found some great items I will be working on over the next few weeks. Stay tuned for some awesome revamps!!!! I am super pumped about them!!
For now I wanted to share a great inexpensive gift idea! My very creative Grandmother gave these out to each of her grandkids this year and I just had to share!
These are mason jars filled with peppernuts!! Aren't they SO cute???? My Grandma made them, so I don't have any other pictures, but I just had to share this idea!
How to:
Fill a mason jar with your favorite candy, hot cocoa or hot cider mix. Close lid.
Layer 10 pieces of tissue paper and cut a circle large enough to cover the top of the lid plus 1 inch for the "flower" effect.
Place tissue on top of jar and hold in place with a rubber band.
Pull tissue paper apart to fluff the flowers.
Cover rubber band with jute or other ribbon and add your tag!
I love the idea of three of them together delivered in a cute little box! It reminds me of a window box filled with flowers.
So brilliant! Thanks Grandma for this great idea!
Monday, December 20, 2010
Holden Uganda
This was posted yesterday from the girls over at Shanty2Chic and I wanted to share. We serve a big God and I am praying He does amazing things through this ministry and the precious life of sweet baby Holden.
Hey guys! Hope you all had a wonderful weekend. I wanted to introduce you to a sweet new friend of mine. I am honored to share her story with you. The Lord used her story to minister to me and it is my prayer that He will do the same for you. I can't wait to meet sweet Holden one day. ~Whitney
God always has a plan and purpose. We may not understand His plans, but they are perfect.
My name is Sarah Erwin. My husband, Chet, and I were blessed with the life of our first child this year; Holden Newell Erwin was born on August 28, 2010. He had already gone to be with Jesus before he was born, but his little life has changed ours forever.
I “met” Whitney through a rather unconventional, unpleasant circumstance, but I am so grateful for the opportunity to connect. As you all know, Whitney and her blog are simply inspiring. I don’t need to tell you that.
For the past 3 ½ months, we have been through more pain than we knew existed. But we have also been given more hope than we knew possible.
Through the help of several friends, we have recently set up a non-profit project called Holden Uganda. We have always been passionate about the dire water situation in Africa, so this is a blessing beyond words.
Through the Lord working in the precious life of our son, we are able to provide clean drinking water to the Ugandan people. Please take a moment to visit www.holdenuganda.org to learn more.
I am honored more than words that Whitney has allowed us to share our story on Shanty2Chic!
Beauty will rise through ashes.
Humbly yours,
Sarah
Sunday, December 19, 2010
Couch Revamp!
This is a project I've been wanted to do for a while now. I LOVED the old couch, but if you know me you know that I am constantly changing things around the house!
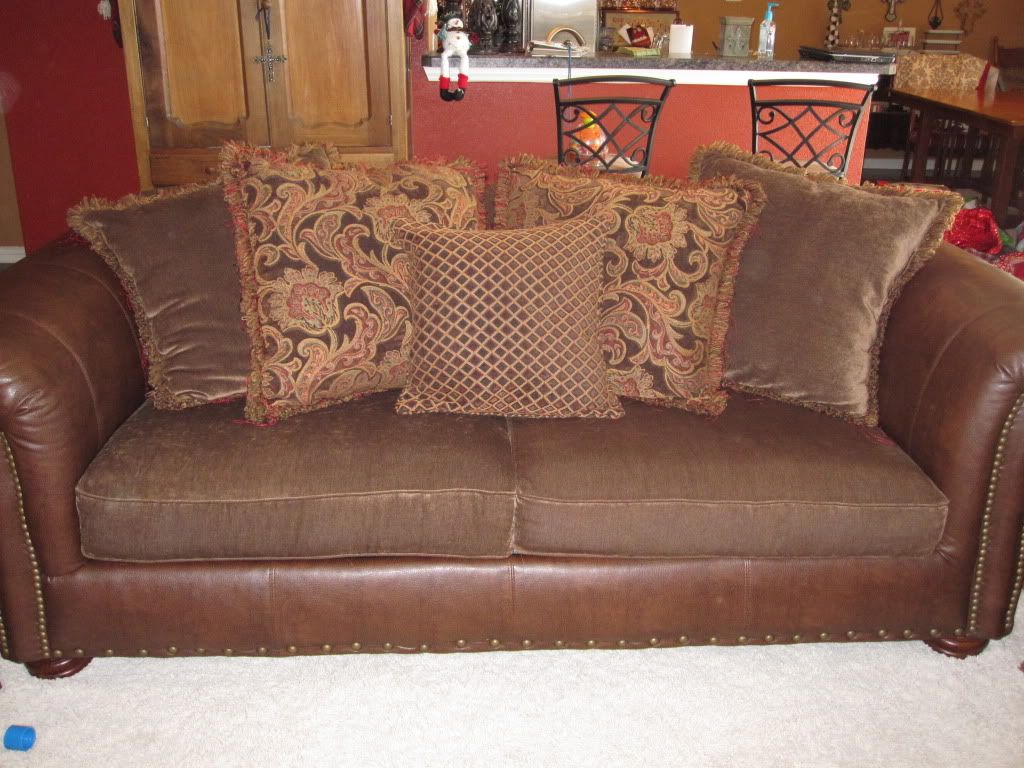
Here is the couch before....
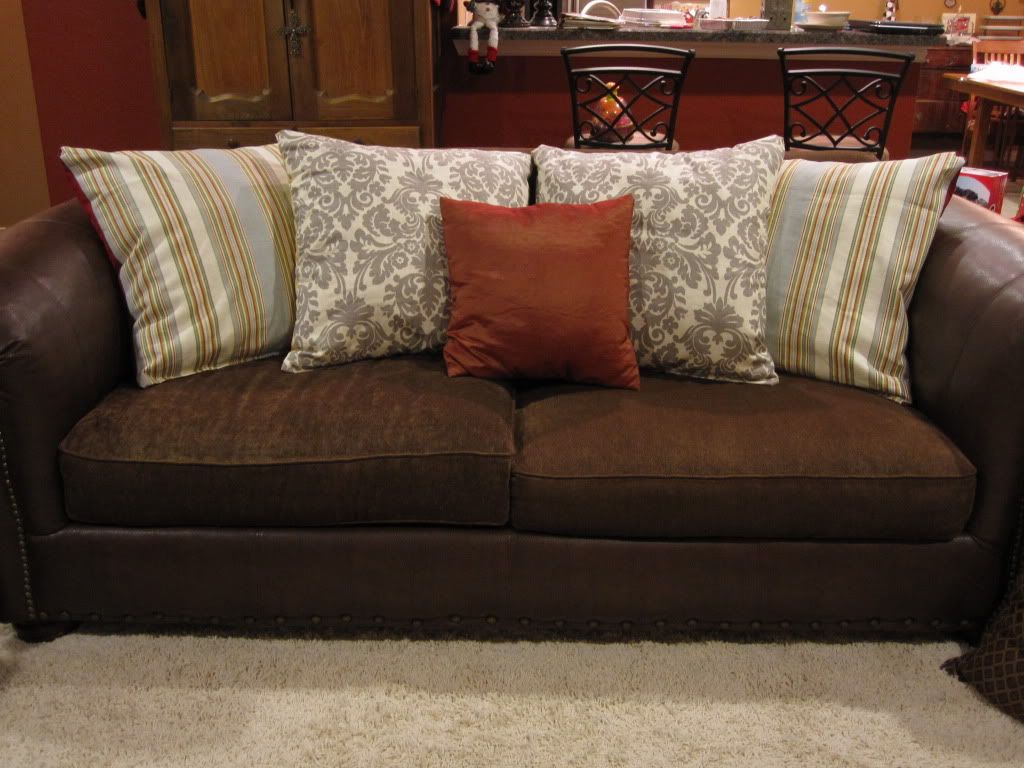
And after!
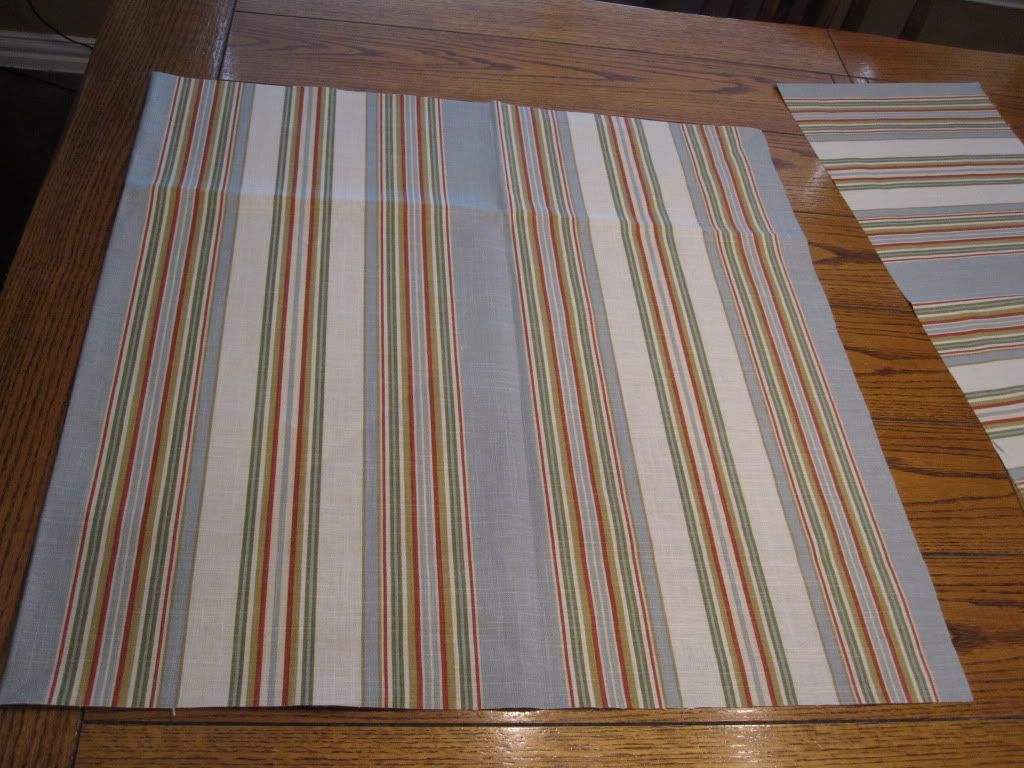
Pillows are the easiest (and most inexpensive) way to update a couch. This revamp cost me less than $100. I got the fabric 40% off from Joann's and still have some left over for some throw pillows!
Here's a quick run down on how I did the pillows:
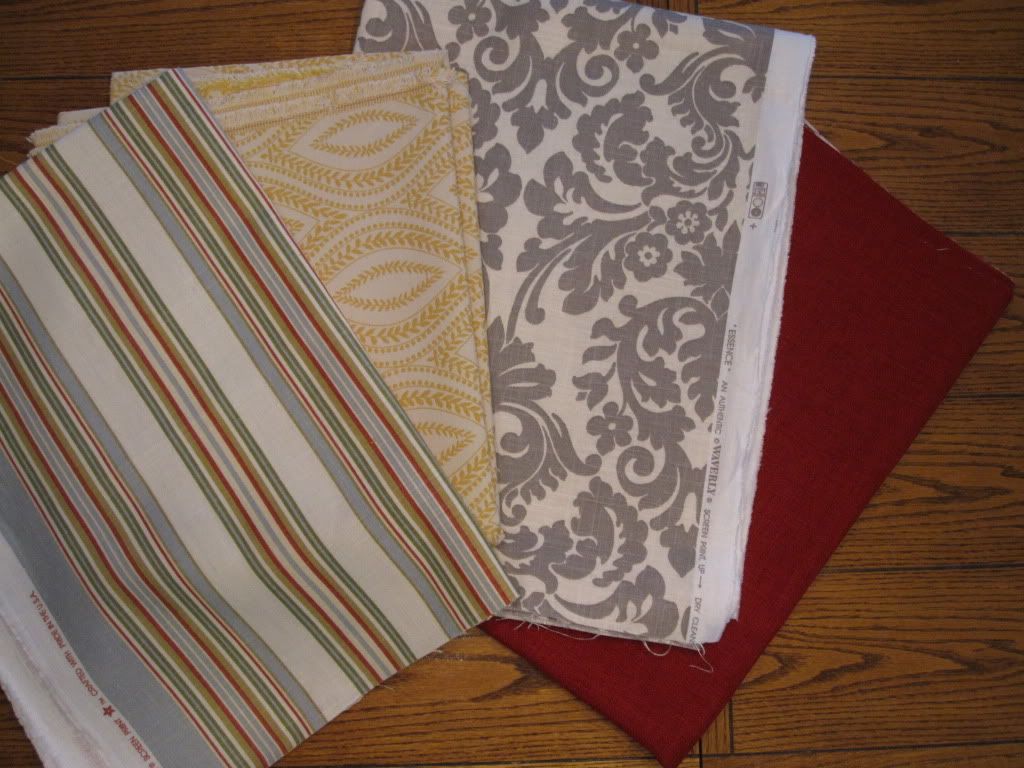
Found the perfect fabric. A good mixture of solids, patterns and stripes!
Measured the pillows and cut with a 1/2" seam allowance.
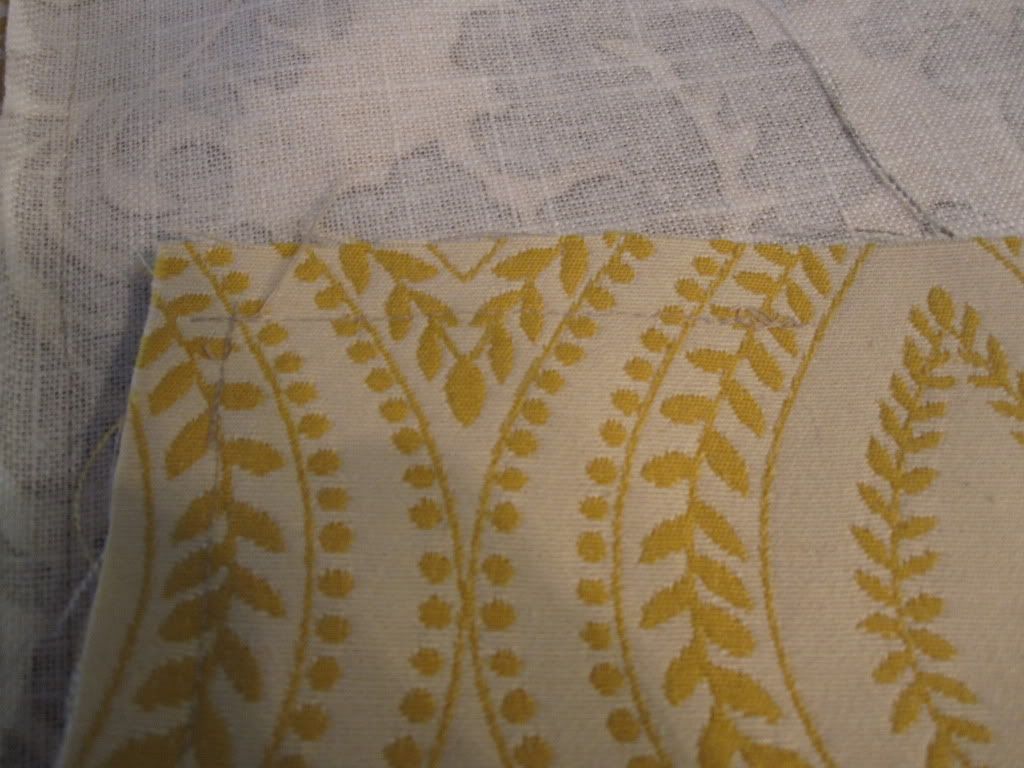
Pattern side together, I straight stitched three of the sides leaving the bottom side open. I made sure the side I left open was the side I wanted for the bottom.
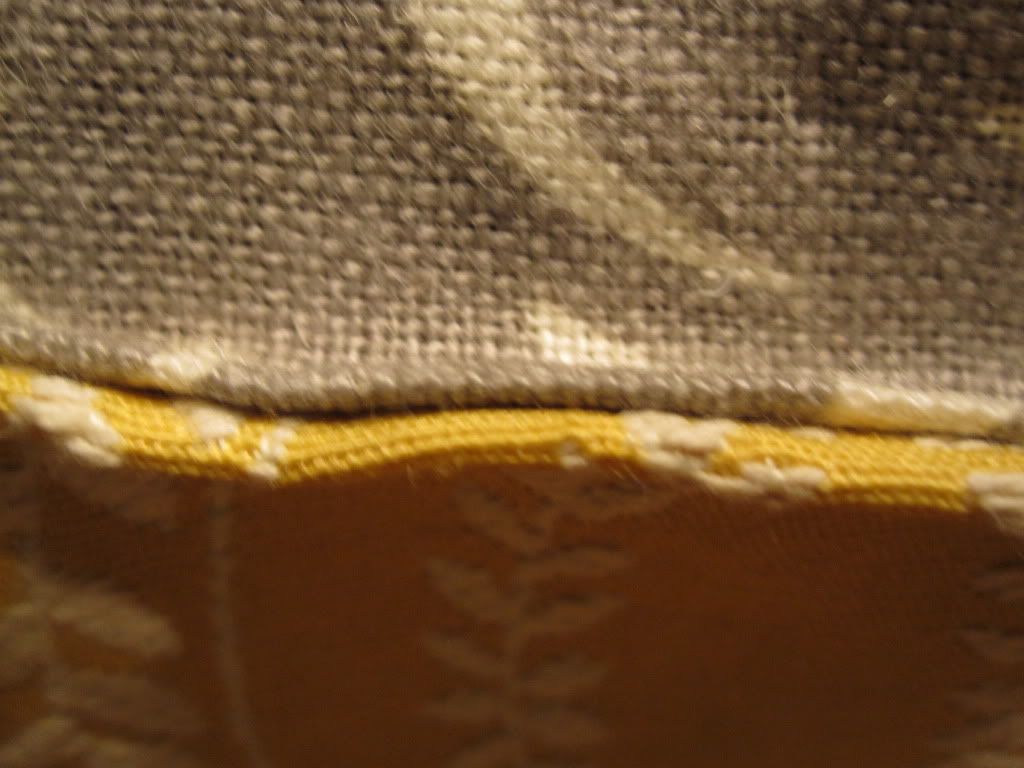
On the bottom seam I straight stitched about 2-3 inches on either side leaving a hole big enough to stick the pillow in. This makes sure the corners look nice and clean when you sew the bottom shut. You can slightly see from the picture below.
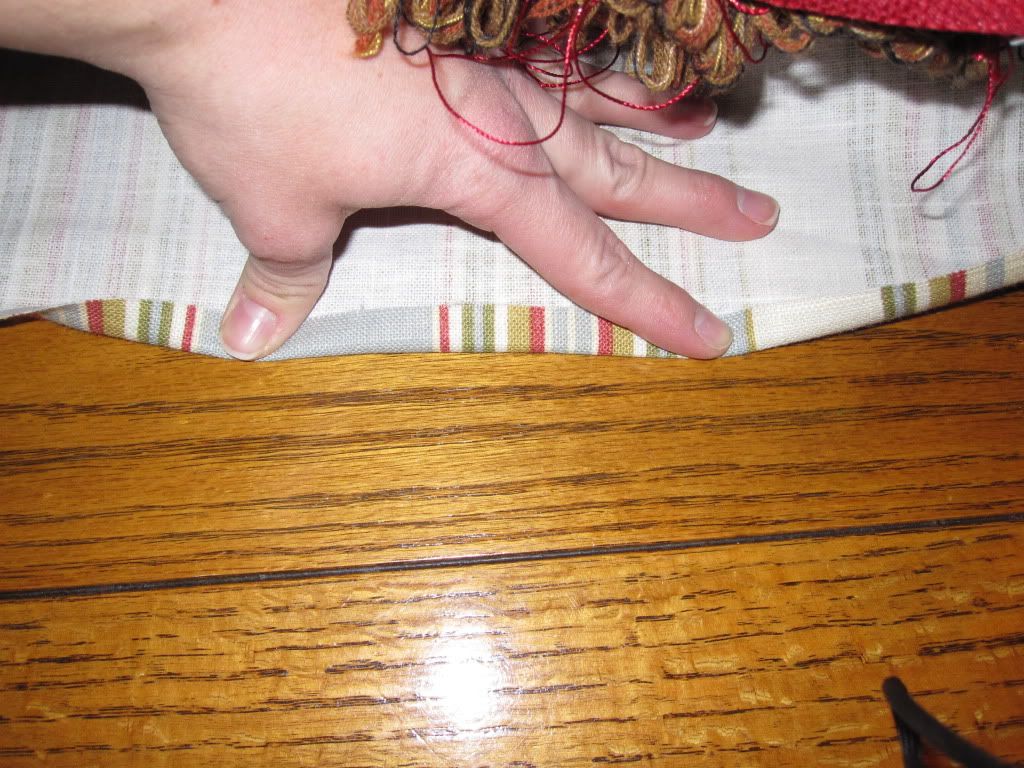
Next you stuff your pillow in. I ironed the bottom sides of the fabric for easier stitching.
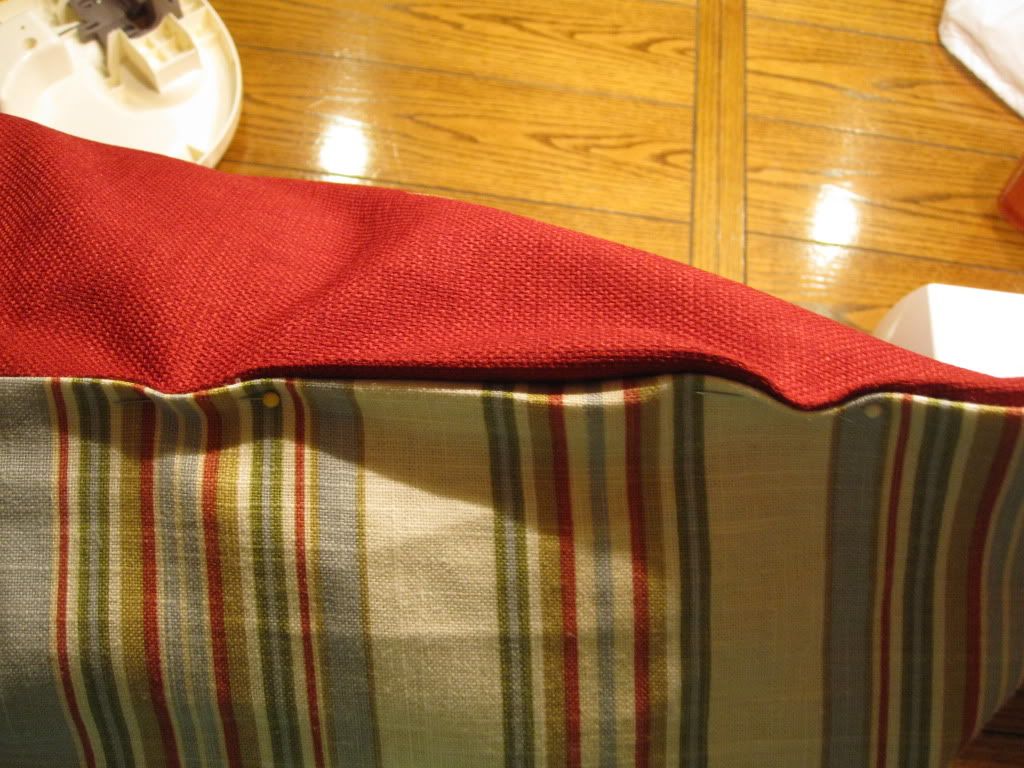
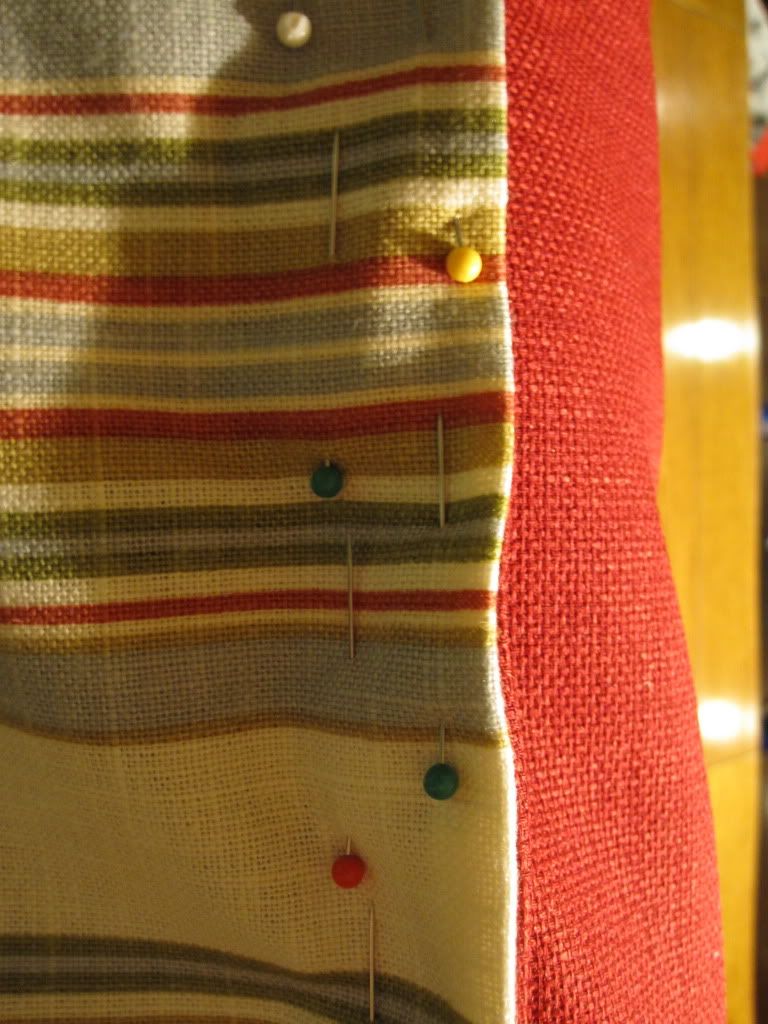
Next I loosely pinned the fabric where the bottom seam will be.
I then went back and filled in the pins. I actually do two rows, which I think makes it more stable so you can get a cleaner stitch across the bottom. Not gonna lie I did break a sweat trying to sew these suckers closed!
The finished bottom seam. Not too bad!
One afternoon project in between feedings and taking care of the little guy. I love the way it turned out!
Buerge Breakfast Ring
All of my posts won't be about food, but if you know my family you know around Christmas time we LOVE to cook! My Aunt Karen found this recipe a few years ago and we've made it every year since. It is one of my favs and really easy to make!
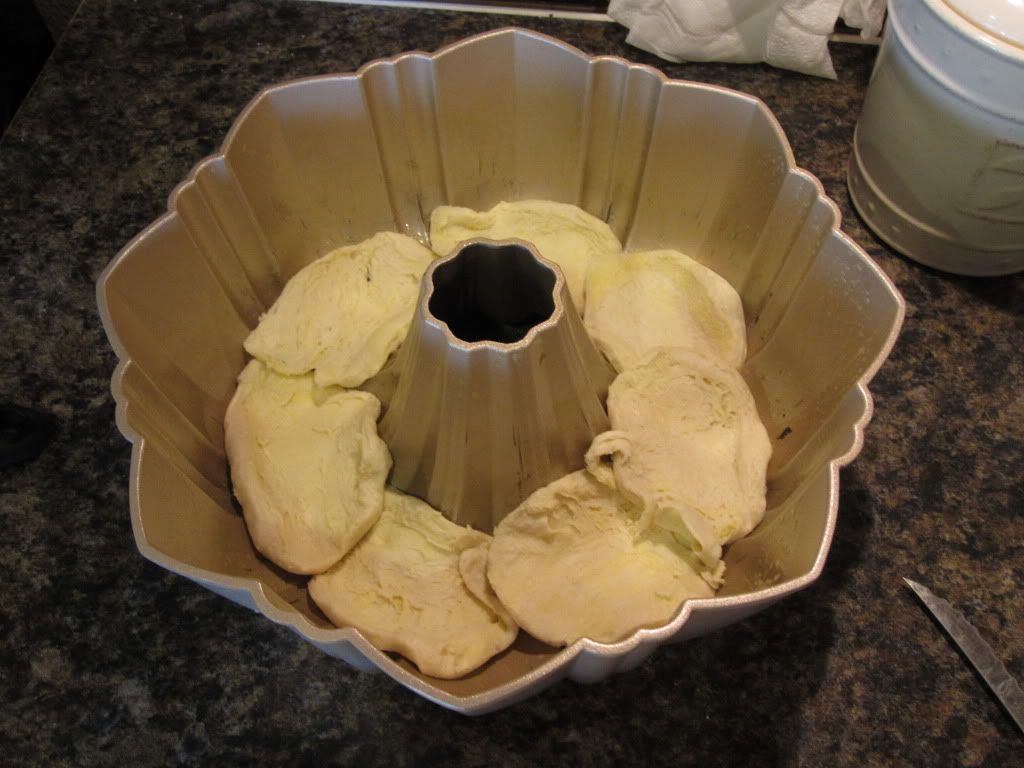
Cut biscuits in half (horizontally)
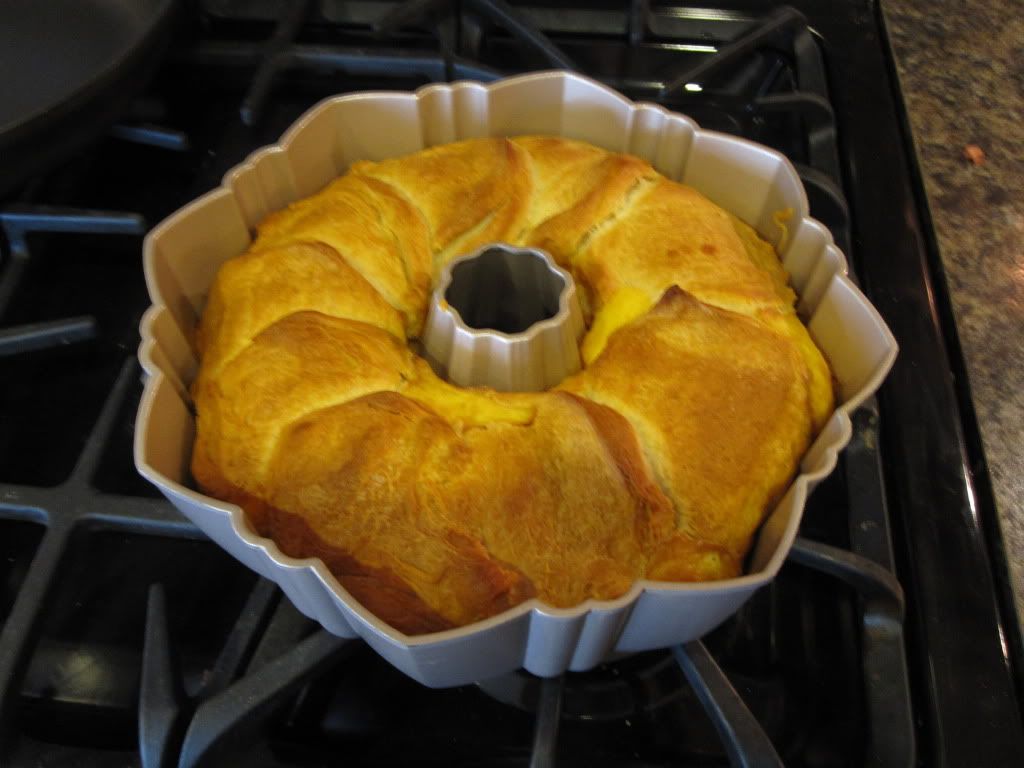
Bake 350° 40-50 minutes
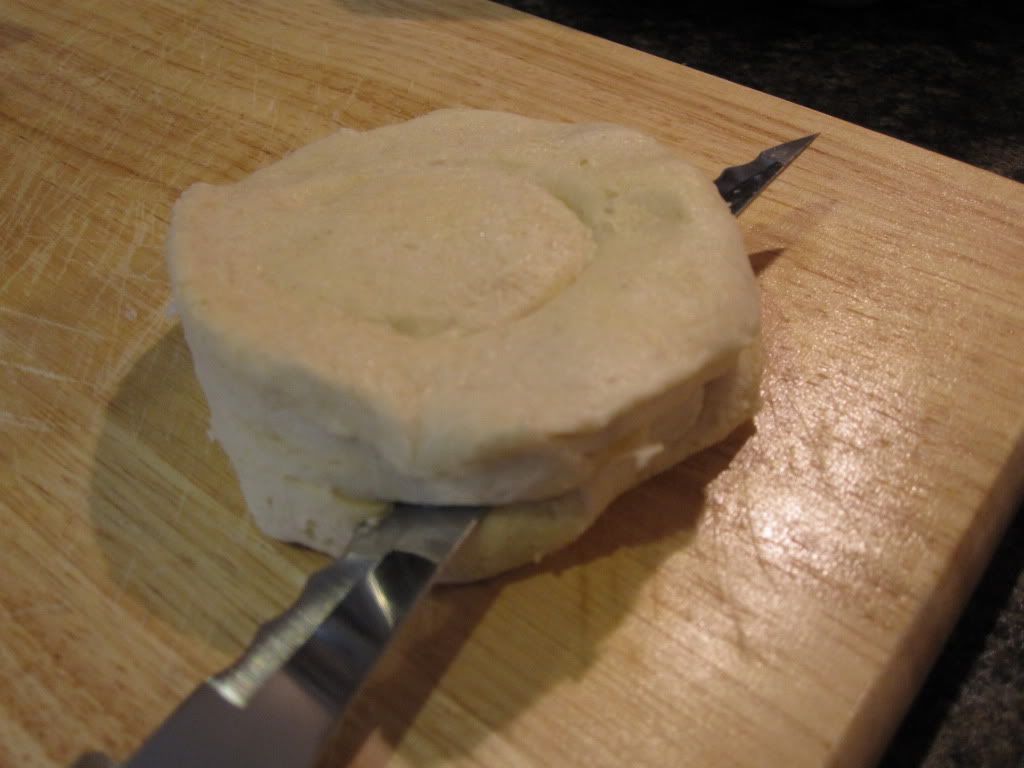
Looking beautiful already! Take a knife and "loosen edges". Not sure what that is technically called, but the goal is to loosen it up so when you flip it over it comes out all in one piece (trust me sometimes it's harder than it sounds).
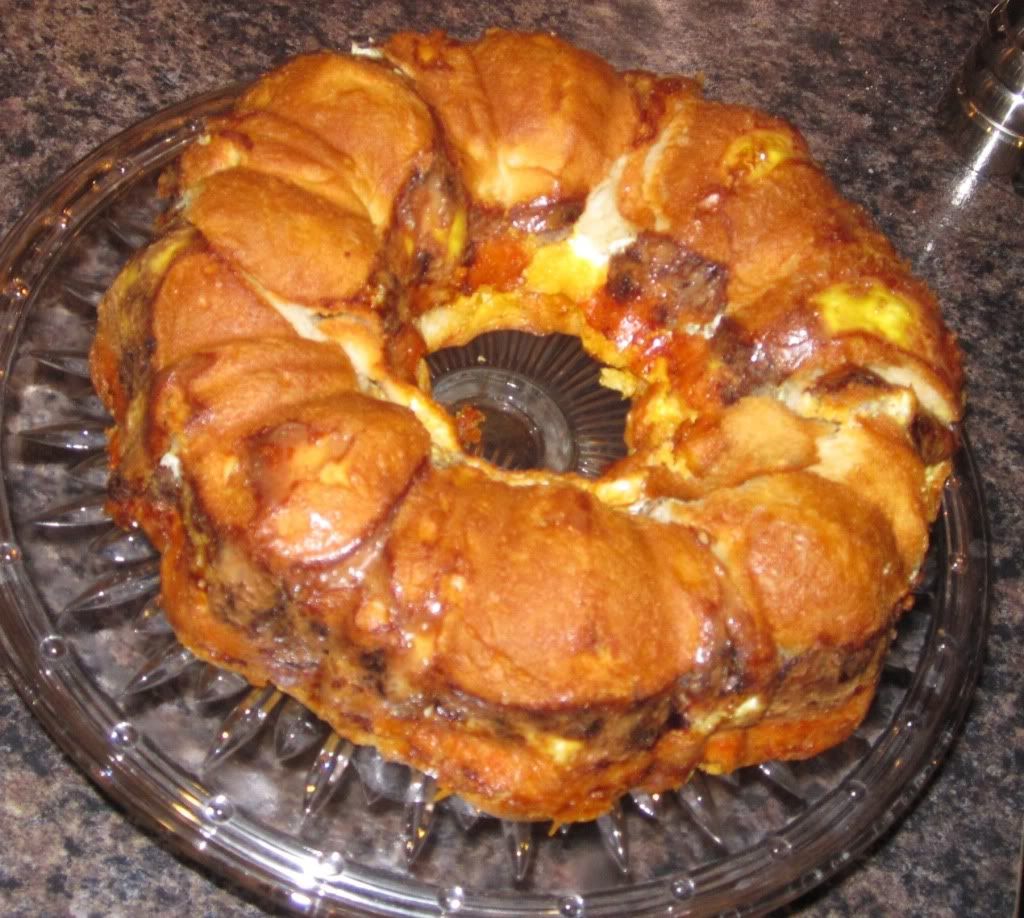
Voila! Beautiful and yummy breakfast ring!
What you need:
1- 8 count can Grand biscuts
1 # sausage, cook and drained
1# sharp cheddar cheese - grated
6 large eggs
1/2 cup chopped onion (optional)
Layer bottom of WELL greased bundt pan over lapping edges.
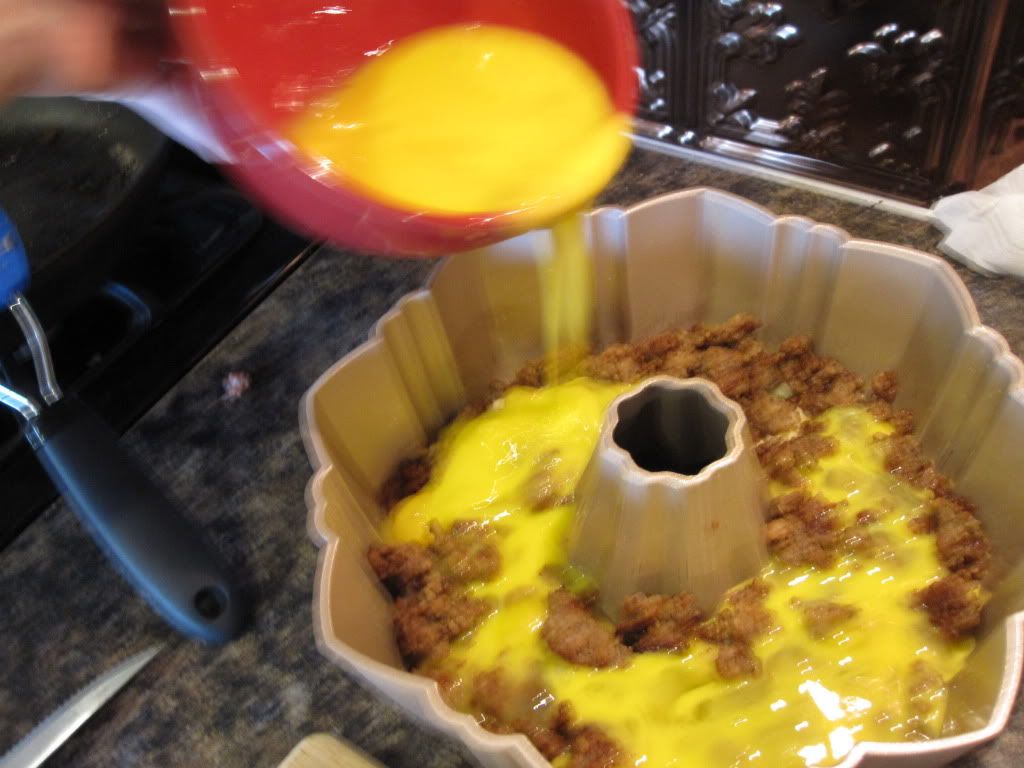
Layer sausage, onions and pour in eggs.
Top with Cheese then layer the other 8 halves of the biscuits.
Looking beautiful already! Take a knife and "loosen edges". Not sure what that is technically called, but the goal is to loosen it up so when you flip it over it comes out all in one piece (trust me sometimes it's harder than it sounds).
Voila! Beautiful and yummy breakfast ring!
Subscribe to:
Posts (Atom)


