This project was pre-blog and pre-baby, but it was one of my fav's so I just had to share! When we moved into our house I knew I wanted to do something really unique in our guest bath. I saw the faux stone idea in a magazine and researched a million pictures online to get it exactly the way I wanted it!
This project took 4 days! It was a painstaking process, but I loved the end result.
Here's how I did it:
I painted the base coat which would be the faux grout lines. This was the first day and all that could be done! I let the paint dry overnight.
The next day I started drawing the layout for the bricks. I used a large level and penciled in the staggered layout. I used 1/4" blue painters tape. I placed the painters tape consistently in relation to the lines I drew.
I was pretty pumped at this point since I could really start to see how it would turn out!
I used 3 different colors of translucent glaze to add dimension. I used the "sponging on" faux technique. I used two different types of sponges. A regular sponge and a sea sponge.
I'll give a brief rundown on the sponging technique. Start with a slightly damp sponge. Pour your glaze onto a paint tray (start with your darkest and work to your lightest glaze). Dip your sponge into the glaze and squeeze out excess. Blot the sponge before applying glaze to the wall to prevent any "blobs" on the wall. Lightly sponge the glaze onto the wall. You really can't mess this up. I actually intentional made some of the stones darker so there would be some variences in the stones.
Let the darkest glaze dry completely and repeat the process with the 2 lighter glazes.
Here is a picture once it had been completely sponged:
Let the paint dry completely and peel off your tape!
Erase any pencil lines that are still visible.
4 days later and lots of elbow grease but it was worth it!!
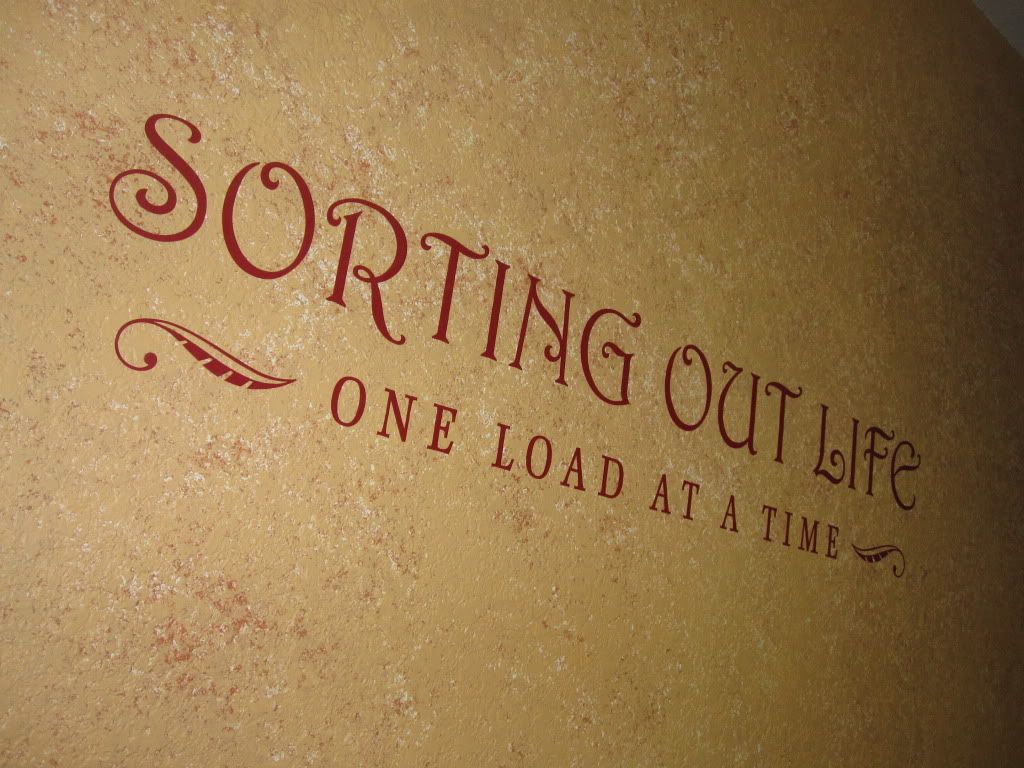
I actually had so much much left over glaze I decided to go on ahead and do the laundry room. I found this decal at UpperCase Living. I love it! Since most people enter our house through the garage I'm glad this room is a little more dressed up than your typical laundry room!
Happy Painting!


wow, amazing! That looks like a lot of work, but the final result is great!
ReplyDelete