


I love that I can leave them plain or add pictures. "Functional" is my game plan for 2011!

I bought a 10'x11"x1" board from Home Depot and used my hubby's miter saw to cut the wood into 3 - 36" boards (more like he cut the wood and I assisted... aka took a pic with the power tool).

I spray painted the boards with Rustoleum Heirloom White.

Next I used the Dremel to grind the edges. I've learned this is much faster than sanding!

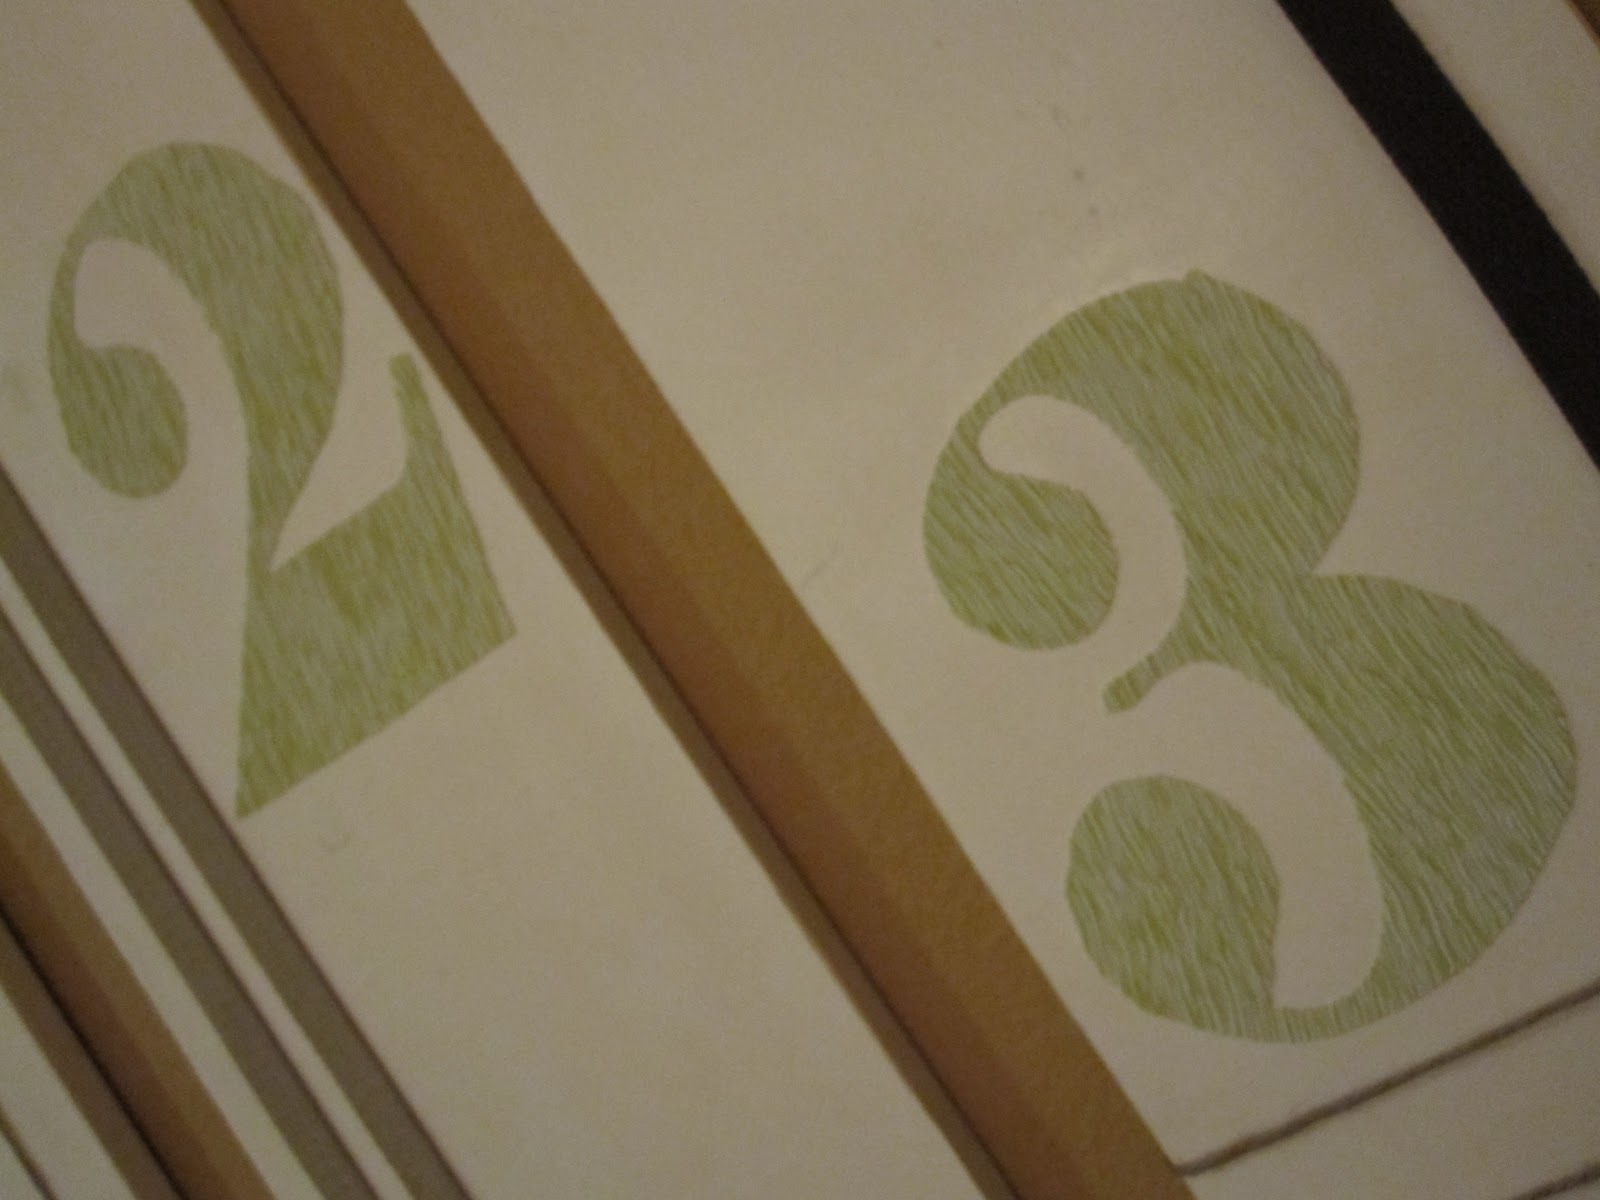
Next I grabbed my fabulous fabric I got from the Et Cetera shop for about 10 cents!

I traced my numbers onto Steam a Seam fusible web. Tip: You have to trace the numbers on backwards in order for them to fuse correctly.


I stuck one side of the fusible web to the fabric and cut out the numbers from the pattern I'd drawn.

I peeled the other side of the fusible web off and stuck the numbers to my board.

I ironed the numbers onto the boards, hot glued the ribbon and twine, and added a tooth hanger from my picture hanging kit.

Love them already!


I painted some clothespins and hung our pictures... which will lead me to another project. Getting some updated pictures printed! But for now, we'll display a few of our wedding pics.


I've been trying to decide on something to go over our buffet table in the dining room...think I just found it!
ReplyDeleteI love Steam a seam! I've never used it on wood but it looks great. I'm gonna try that.
ReplyDeleteLove your blog : )
I'll follow you if you follow me! :)
ReplyDeletethey turned out really cute...
ReplyDeleteI love the idea for fabric numbers! It looks great!
ReplyDeleteAwesome job & I love the colors! Thanks so much for sharing at Gettin' Krafty With It!
ReplyDeleteWhat a great idea! And it was executed so well. Aren't miter saws so fun??? Thanks for linking up!
ReplyDeleteThese are so cute! What a fun way to show off your pics! Thanks so much for linking up! I hope you'll stop by Tute {Yourself} Tuesday again next week!
ReplyDeleteWow. As much as power tools scare me, I need to learn this spring how to use a saw...
ReplyDeleteThese boards look great!
If you have a moment tonight, please link up to Creative Juice Thursday...
<3
nicolette @
http://momnivoresdilemma.blogspot.com/2011/01/creative-juice-thursday-6-features-and.html
Inspired! How lovely! Thank you for your tutorial!
ReplyDeleteThanks for linking up to Making It With Allie! I can't wait to see what you have for next week!
AllieMakes.Blogspot.com
Great piece of decor! I love that it's functional, too! Thanks for sharing at the Craft Catwalk!
ReplyDelete